Upgrading your 1970-1981 Second Gen F-Body front suspension to coil overs is a pretty easy task. Whether you’re considering the coil over upgrade because the factory springs are tired, you’re rebuilding the whole car, or you just want to upgrade, there’s no wrong time to do it.
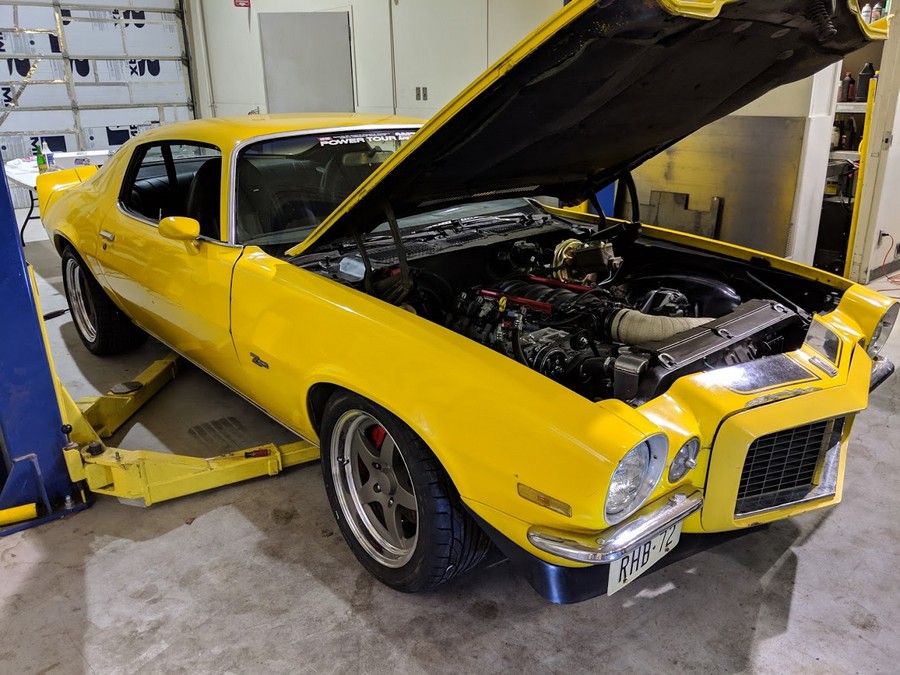
We’ve discussed before the difference between a traditional shock and coil over – and there’s really not much of a difference as far as the mechanics of it go. The reasons to upgrade are weight savings, adjustability, and cool factor. The job is fairly easy and can be done on a weekend. We have a full line of coil overs for your Camaro or Firebird as well to help you figure out the best solution. The ones shown in this article are from Viking Performance, but the process is all the same.
Goodbye Springs and Shocks
The first step is to remove the old springs and shocks. To do that, you’ll want to jack the car up and remove the wheels. You’ll then want to remove the tie rod from the spindle. Then you’ll want to remove the spindle from the lower control arm. This part can be very dangerous as you can potentially release all the energy in the spring and have it come flying out at you.
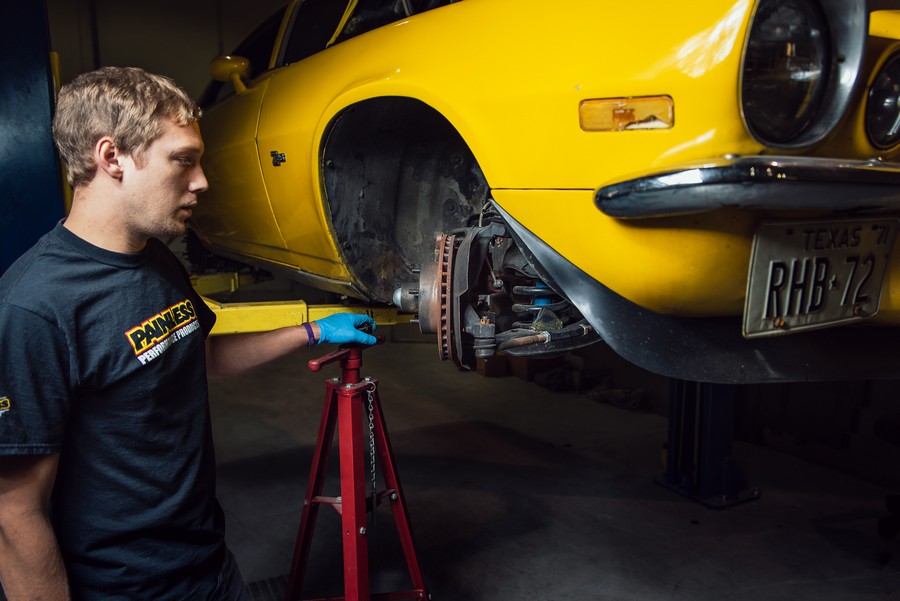
The easiest way we’ve found to safely do this is to have the car on jack stands with the wheel removed. Disconnect the tie rod, and remove the shock. Then loosen both castle nuts on the ball joints about halfway off. Taking a sledgehammer, smack the spindle by the lower and upper ball joints till it pops loose.
Using a floor jack, put pressure under the lower control arm so that the pressure is off the spindle, then remove the castle nuts and move the spindle off to the side. Then very slowly and carefully lower the control arm allowing the spring to come out of place. Again, take extreme caution when doing this as it’s still a risky process.
With the old spring and shock out of the way, now is the time to install the new coil over. Before installing it you’ll want to assemble the coil over and use an anti-seize compound on the threads as you’re assembling the rings and bearings.
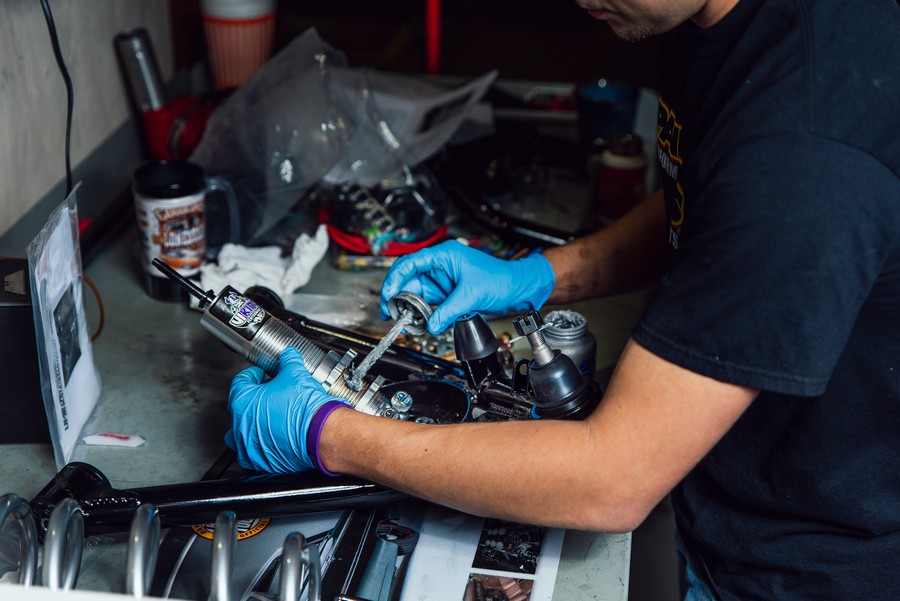
You’ll want to thread the retaining rings all the way to the bottom of the shock to allow the spring to go all the way down. On these coil overs, you mount them on top of the spring pocket, not under them like a traditional shock.
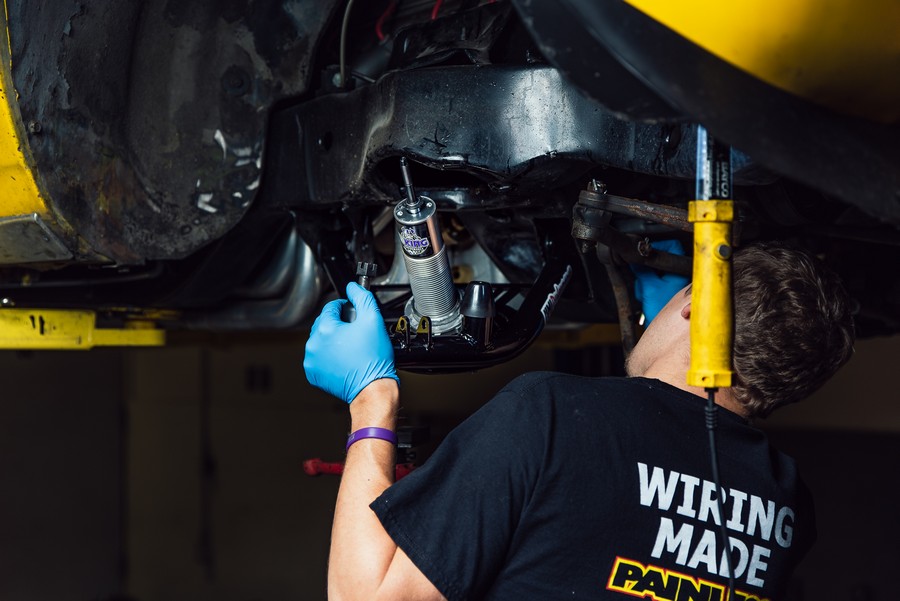
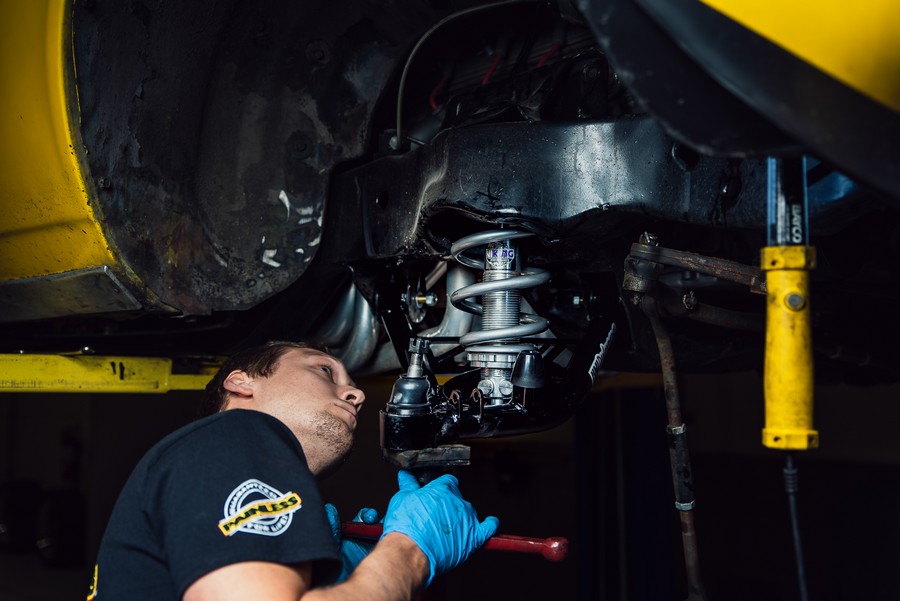
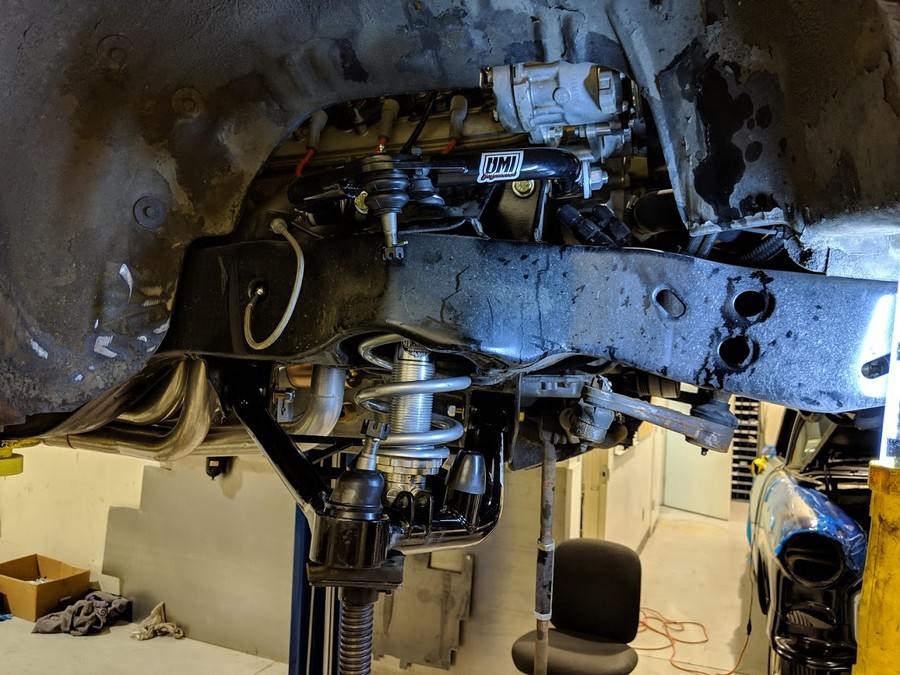
The next step is to install the coil over on the control arm, then slide the coil spring over and bring the lower control arm up enough to get everything into place and tightened down. You’ll want to then install the spindle, tie rods and get the wheels back on.
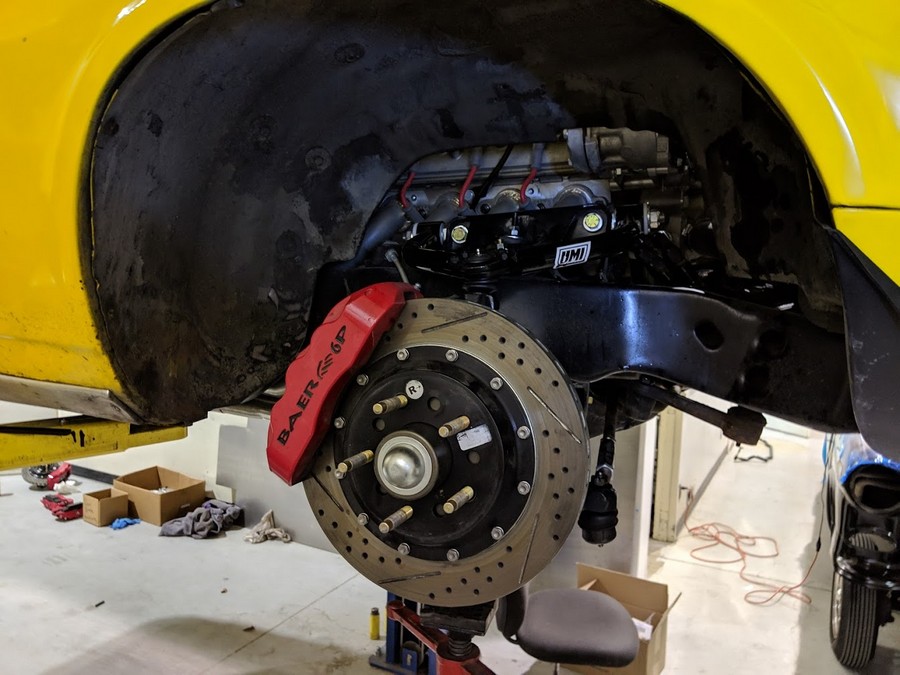
At this point, you may need to tighten the spring up a bit to keep it in place. Most likely you won’t be running them that low either, so you can tighten them up an inch or two. Then re-install the spindle, tie rod, wheels, and tires.
Once you get the wheels back on and the car on the ground you can start to dial in your ride height. At this point it’s a matter of trial and error – see how you like it and tighten/loosen the retainers until you get it how you like it.
