Weatherstripping: The Overlooked Essential
Back in Part 1, we discussed the importance of weatherstripping in keeping your classic car’s interior safe from the elements, noise, and temperature fluctuations. Now, let’s dive deeper into the types of weatherstripping, common defects, and how to replace them yourself if needed.
Types of Weatherstripping and Their Importance
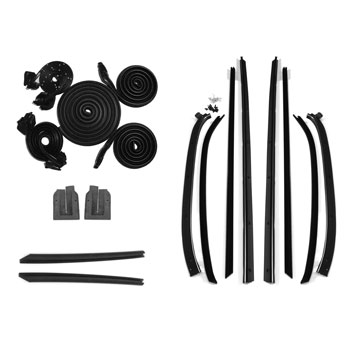
Weatherstripping is designed to seal gaps between various parts of your vehicle, such as doors, windows, trunks, and hoods, keeping water, dust, and air from entering the cabin. Here’s a closer look at where weatherstripping is located:
Door Seals: Every door typically has weatherstripping around the perimeter to prevent dust, moisture, and noise from entering. Some cars have two layers of sealing for added protection.
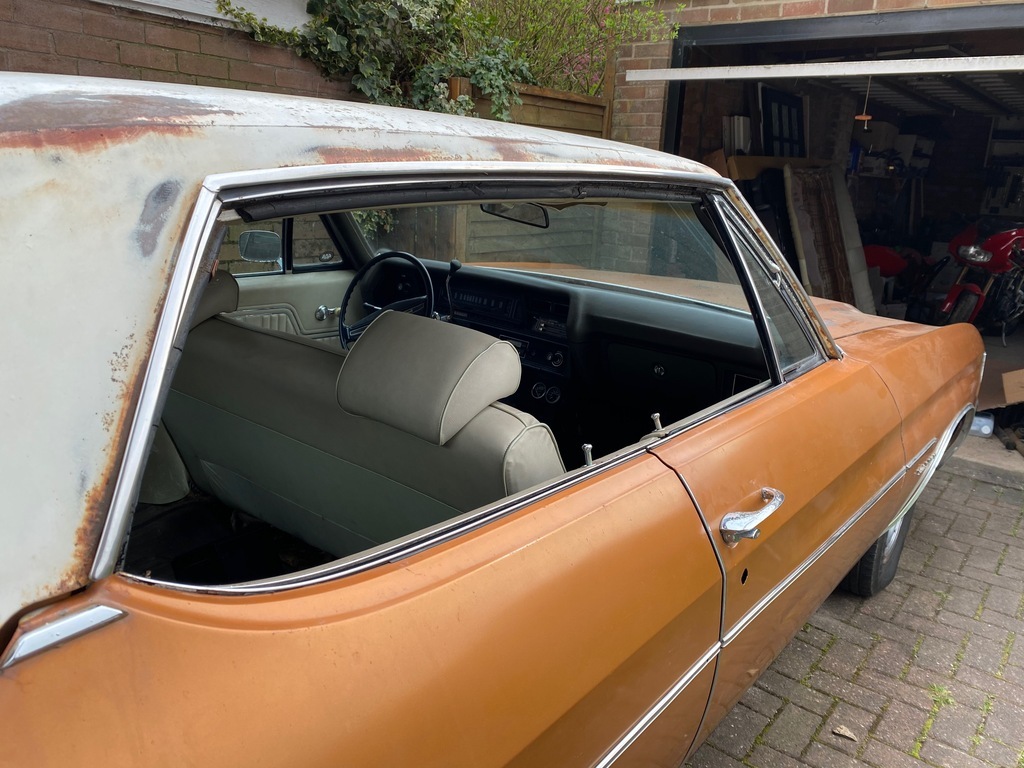
Window Seals: The windows have several different seals, including beltline window sweeps and roof rail seals, which help prevent water leaks and rattling.
Hood and Trunk Seals: These seals prevent water and debris from entering the engine compartment and trunk space, which could otherwise cause rust and damage.
Cowl Seals: Found between the firewall and the front hood, cowl seals keep dirt, fumes, and other contaminants out of the cabin.
Each type of weatherstripping serves an important role, and keeping them in good condition is needed for both comfort and protection.
Symptoms of Weatherstripping Problems
Even if your car isn’t 20 years old, weatherstripping can start to wear out, leading to several noticeable issues. Common symptoms of defective weatherstripping include:
Excessive Noise: Wind whistling, road noise, or rattling windows are signs that your weatherstripping may have lost its seal.
Water Leaks: Water entering through the doors or trunk is a clear indication of worn seals, which can lead to mold and rust if not addressed.
Temperature Fluctuations: If your car isn’t staying cool or warm as it should, the weatherstripping might be letting air escape, causing your air conditioner or heater to work harder.
Cracks or Stiffness: Rubber that’s become hard, brittle, or visibly cracked is another sign that it’s time for a replacement.
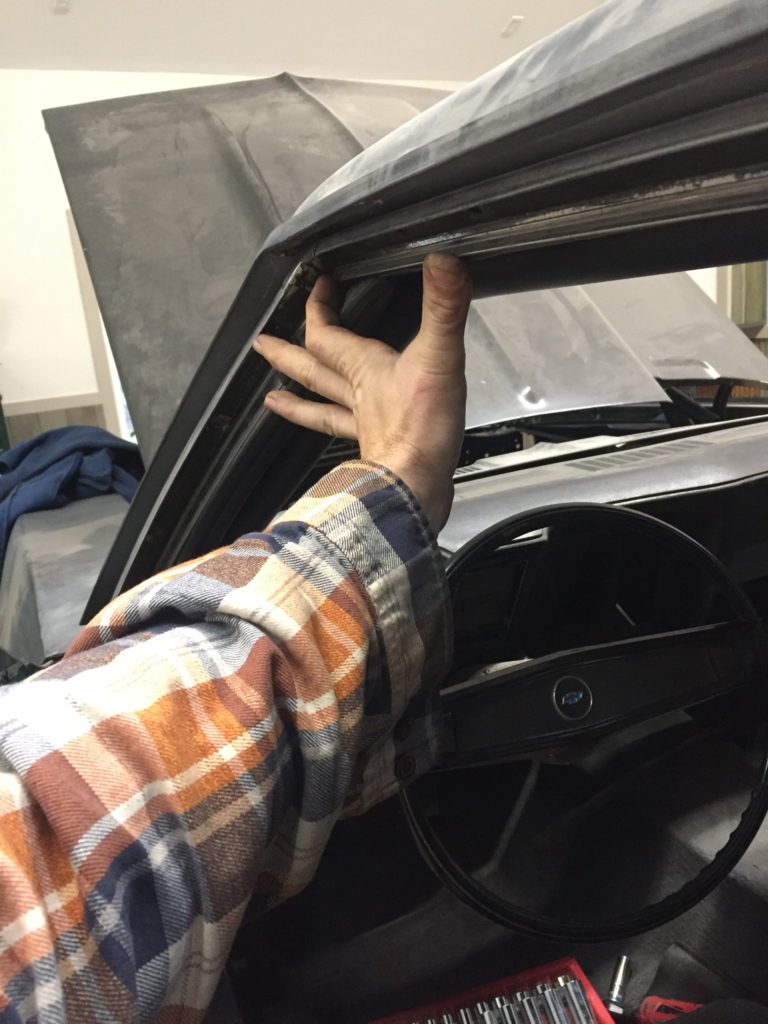
DIY Weatherstripping Replacement
If you notice any of these symptoms, replacing your weatherstripping is a straightforward process. Here’s a basic guide to help you tackle it yourself:
Remove the Old Weatherstripping: Use a flathead screwdriver to carefully pry out the worn seal, making sure not to damage the surrounding surface.
Clean the Surface: After removing the old seal, clean the metal frame with an adhesive remover and rag, then sand the area to ensure a smooth surface for the new seal.
Apply Adhesive: Apply adhesive both to the surface of the car and the new weatherstripping to ensure a strong bond.
Install the New Seal: Starting from a corner, press the new weatherstripping into place, making sure it fits snugly without any gaps.
Protect the Seal: Use a silicone-based lubricant to coat the new seal, which will help protect it from moisture and temperature changes.
Maintaining your car’s weatherstripping is key to protecting its interior and extending its lifespan. Whether you choose to replace the seals yourself or have a professional handle it, staying on top of your weatherstripping’s condition will save you from larger, costlier repairs down the road.
If you need any weatherstripping for your Camaro, Nova, Chevelle, El Camino, Monte Carlo, or G-Body, hop on SS396.com or give our friendly techs a call at (203) 235-1200!

