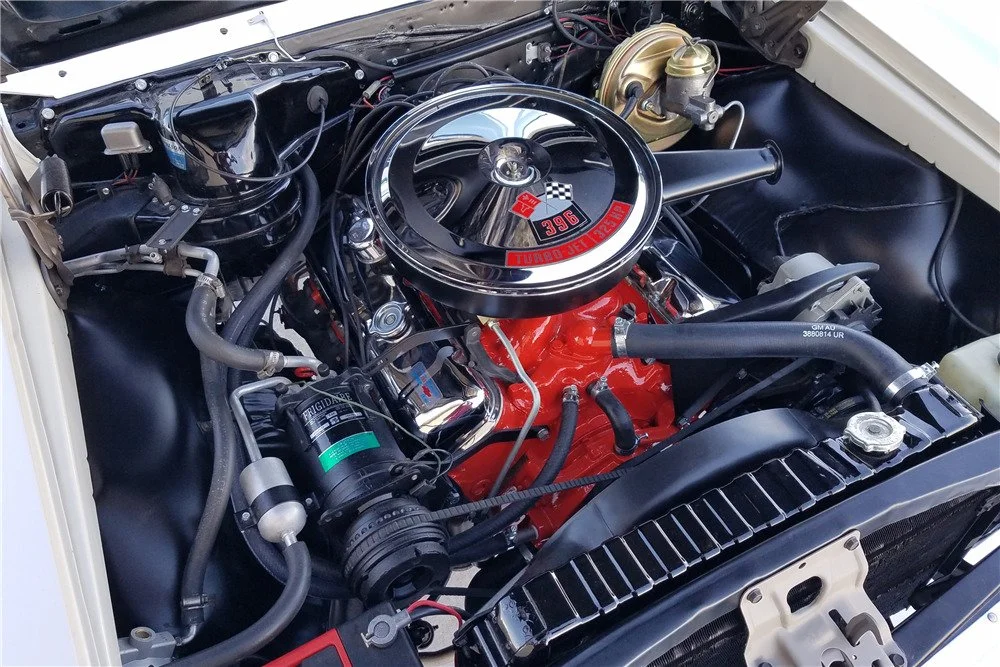
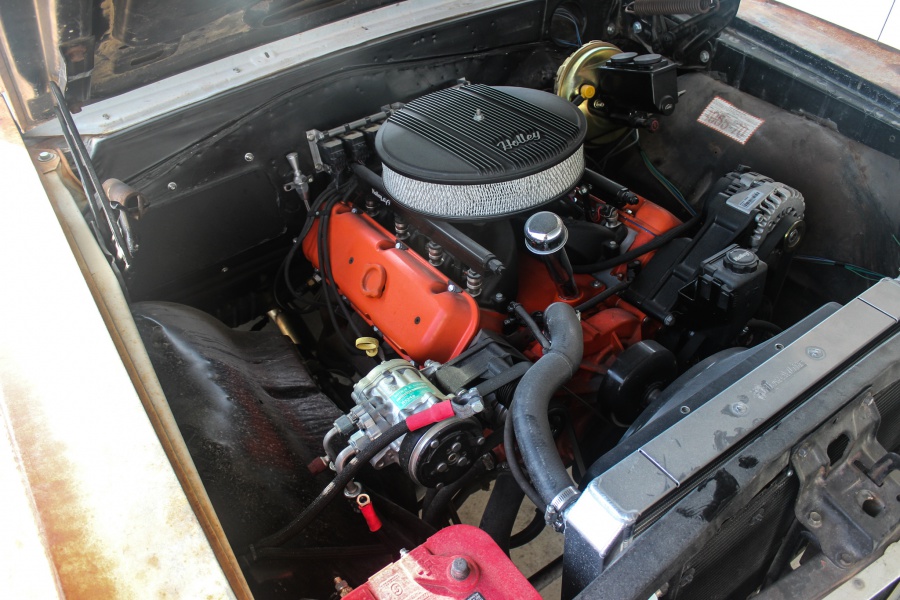
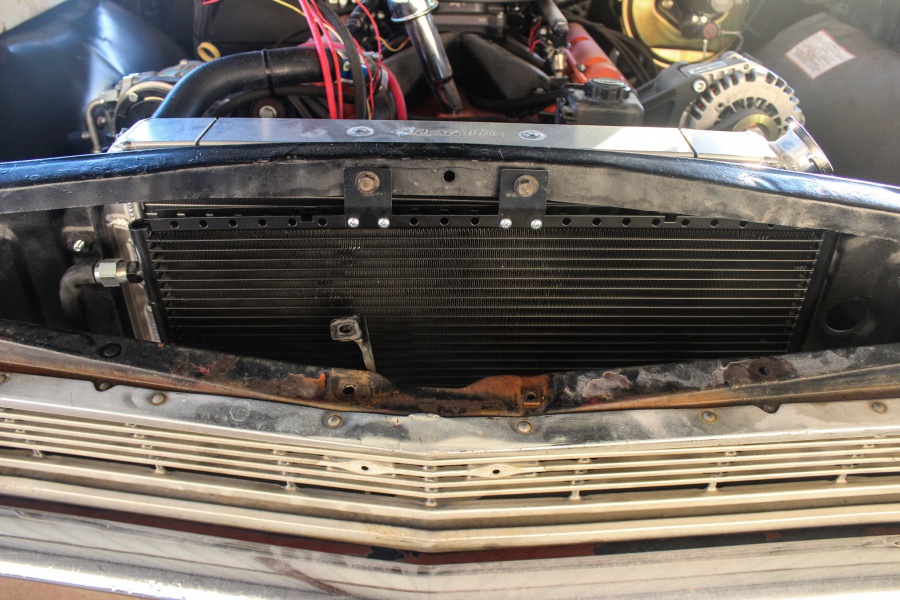
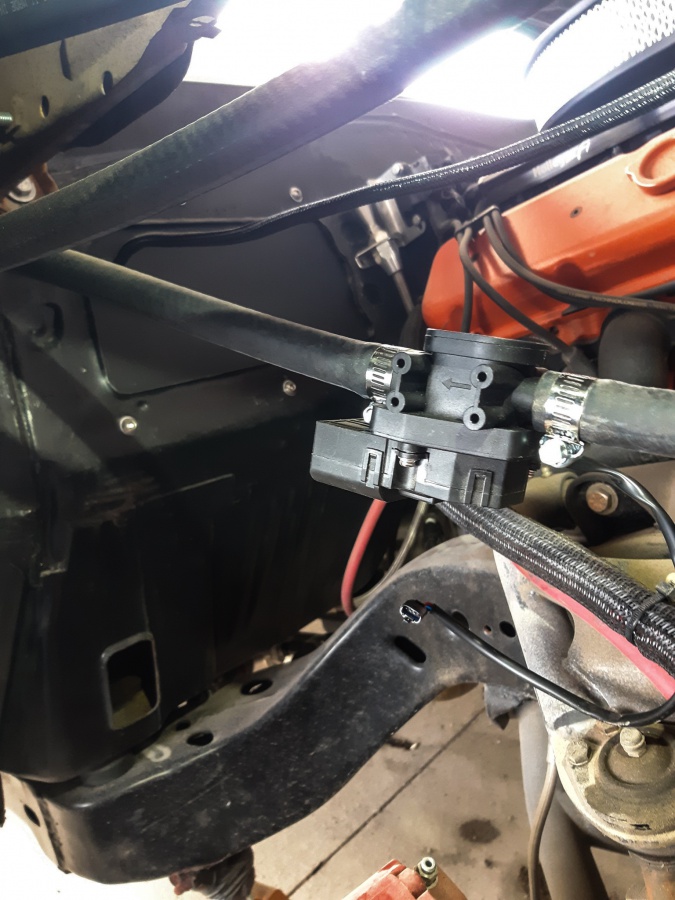
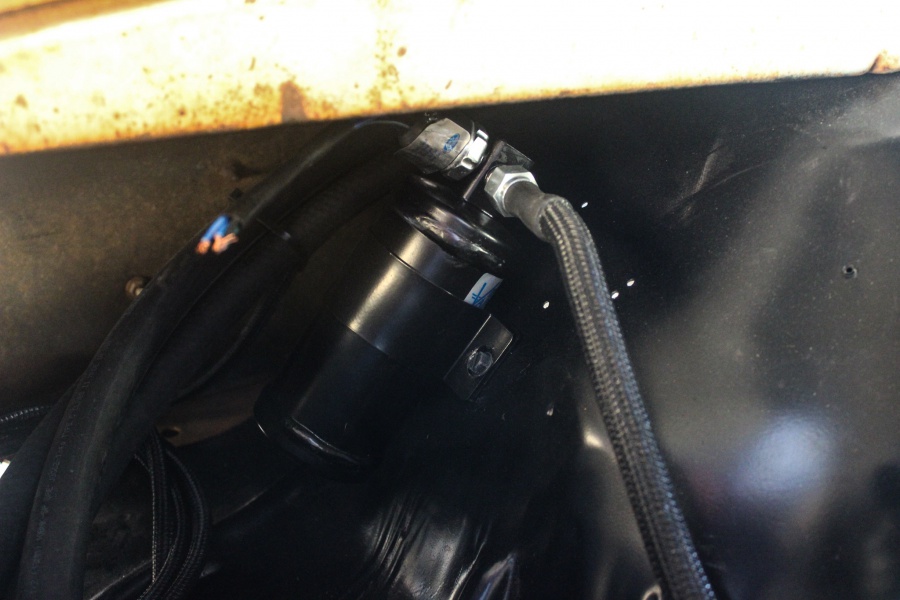

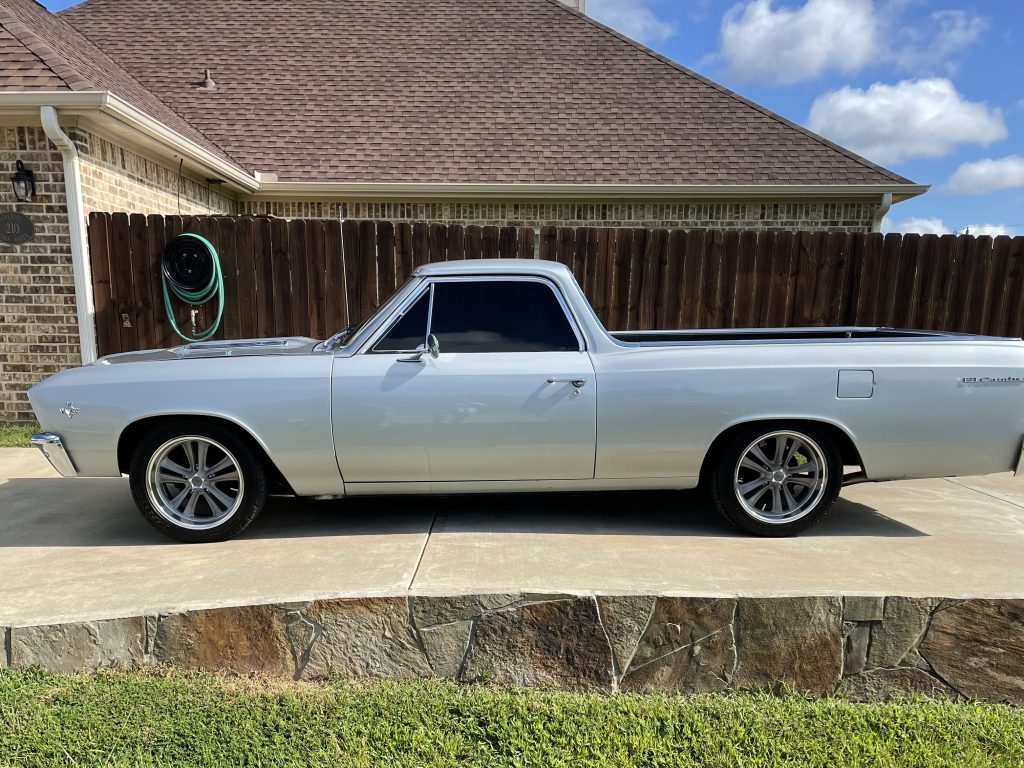
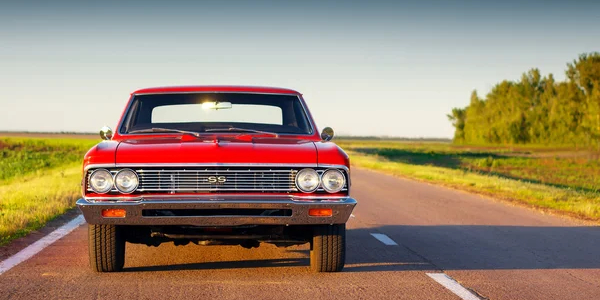
Gordon’s ’67 El Camino used to belong to his step dad, Dominic. He purchased it from the original owner, who only had it for two
Get Your Kicks….On These Routes With summer just around the corner, we are itching to get behind the wheel and put some miles on our
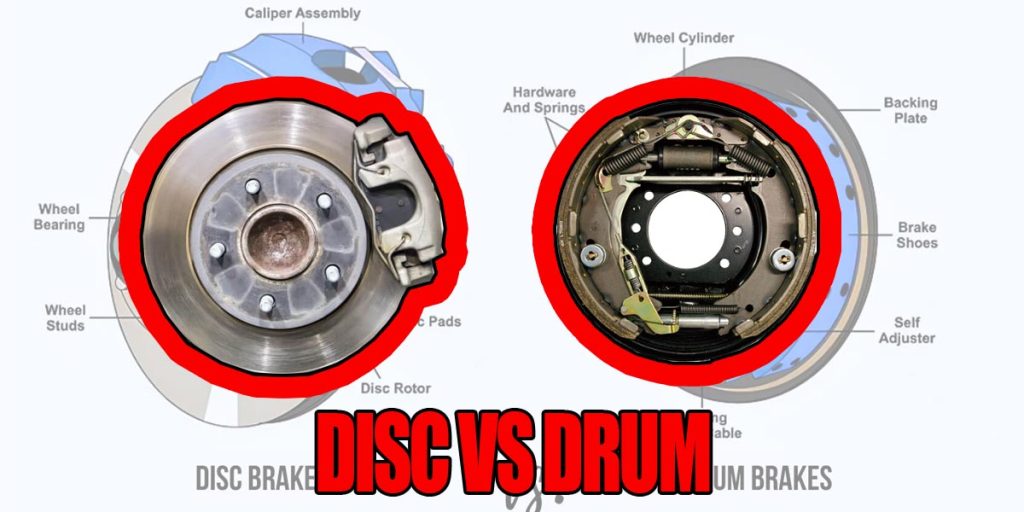
Disc Or Drum Brakes: Which One Is Really Better? Braking technology has come a long way, but one debate still remains—drum brakes versus disc brakes.
