The Basics of Brakes
As engines, transmissions, suspension, and tires have all been upgraded, you need to upgrade your brakes too. There’s a reason that everybody swaps to disc brakes – they are often lighter, less susceptible to heat fade, and in general stop a ton better. However, just slapping any ol’ disc brake set on your car won’t do.
If you’re building an engine, would you just grab any pistons, crank, and camshaft and shove them in? No. You’d carefully measure and select so that everything works in harmony. That’s how brake systems work as well. Let’s start at the top of the system and work our way down.
Brake Fluids and Pressures
A brake system is a hydraulic system. There’s a piston in the master cylinder that’s compressing on the brake fluid, which then engages the pistons and causes them to clamp down on the pads and rotors. The size of the pistons in both the master cylinder and the brake calipers have to be measured and accounted for.
To complicate it more, whether you’re running manual, power, or hydroboost brakes will also determine the correct sizes. Generally, a manual setup will have a smaller bore size to increase line pressure, therefore decreasing the effort required from the driver to engage the brakes. On the flip side, hydroboost masters have a larger bore size to decrease line pressure since the hydroboost provides so much assistance.
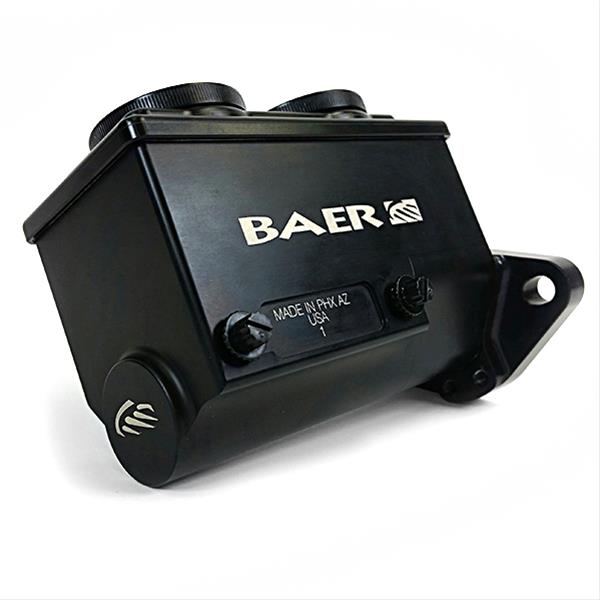
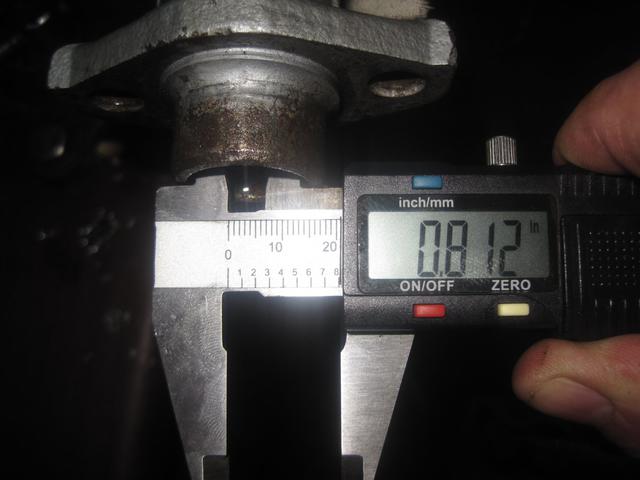
Just as technology in engines has made leaps and bounds over the last 50 years, so has brake technology. For example, in the ’80s many GM applications went to a single large piston. Yet through testing and engineering, they found out that multiple smaller pistons in the caliper performed better. Another improvement is the dual reservoir system. In a factory car, many of them had a single-pot master cylinder. If one wheel cylinder leaks, you have zero brakes. In dual reservoir setups if one fails, you still have half your brakes.
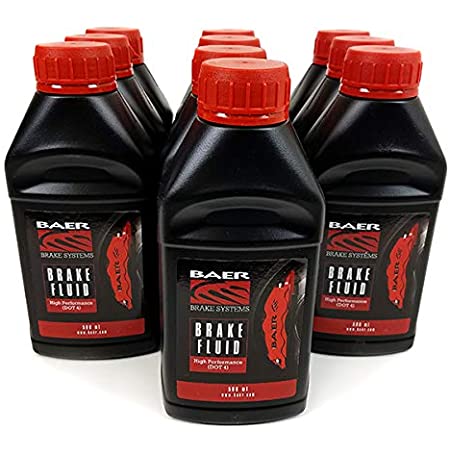
There are different kinds of brake fluid as well. The most readily available and most popular is DOT 3. Brake fluids have to withstand extreme heat from the brake calipers, but also work in extremely cold conditions, and work over and over again. DOT 4 is a higher performance fluid that has a higher boiling point for those getting into serious racing.
Brake Angle of the Dangle
The pedal ratio is also crucial to get correct. When using factory pedals and factory disc brake parts, it’s pretty easy. When using aftermarket pedals and parts this is something especially crucial to monitor.
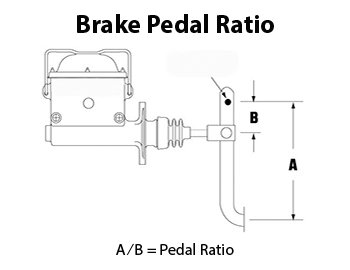
Just as we discussed earlier how it’s a hydraulic system with pressures, the force put into that system by the brake pedal is just as important. You could have everything in the brake system perfect but have the wrong ratio and it would cause the brakes to not work properly.
In order to get the correct ratio you’ll have to do some math and measuring. You’ll want to know the distance from the pivot point to where your brake pedal is, along with the distance from the pivot point to where the brake rod attaches to the arm.
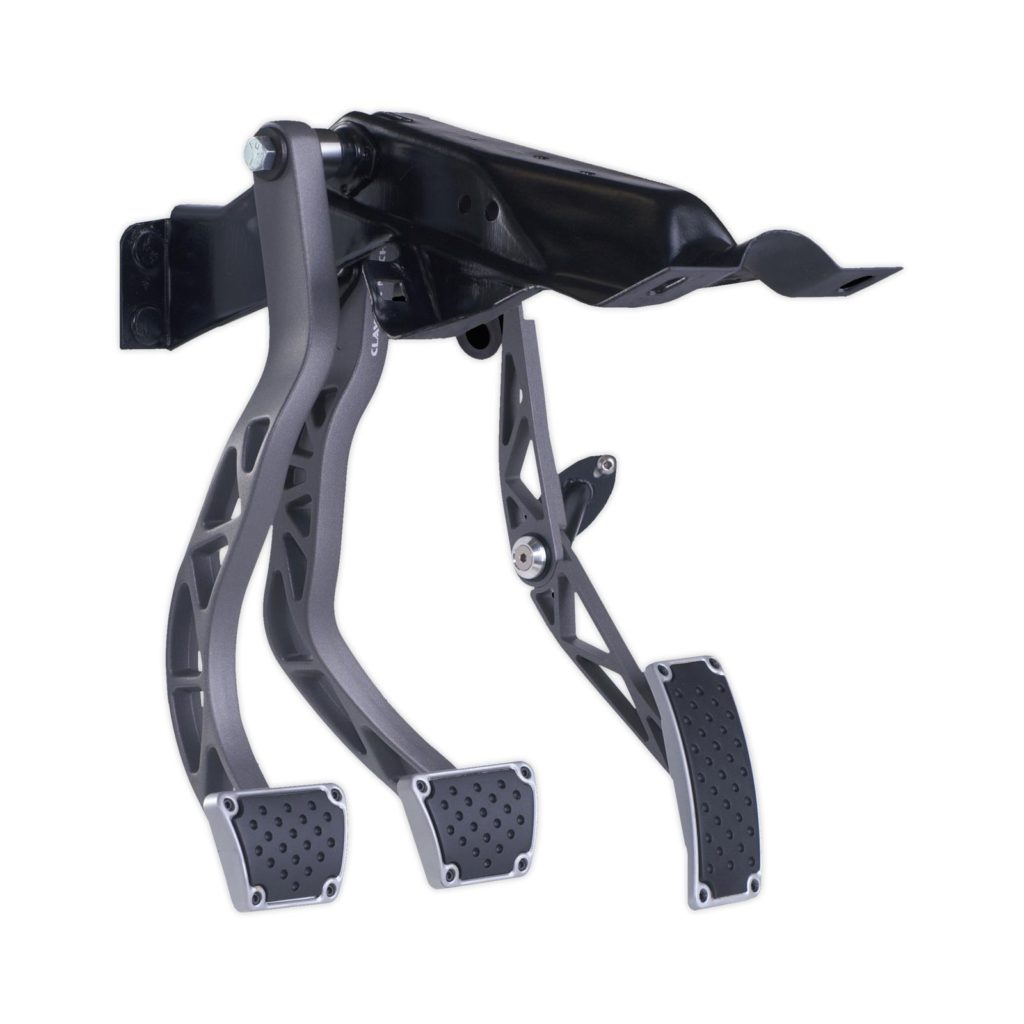
When converting your classic Chevelle, Nova, Camaro, etc. from drum to disc you’ll often notice that you attach the clevis in a different spot on the arm. This is to ensure the ratio is correct.
Brake Proportioning Valves, Metering Valves and Switches
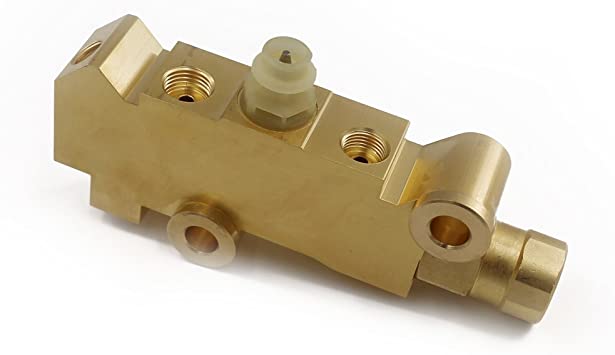
One question we see a lot is regarding proportioning valves, especially when converting from drum to disc. Most people call them proportioning valves, but there are actually metering valves as well. Proportioning valves limit the line pressure to the brakes, while a metering valve equalizes the pressure to the brakes. Generally what you’ll see is a combination valve, shown below. These have a metering valve that keeps the pressures the same as the front brakes, and a proportioning valve for the rear brakes.
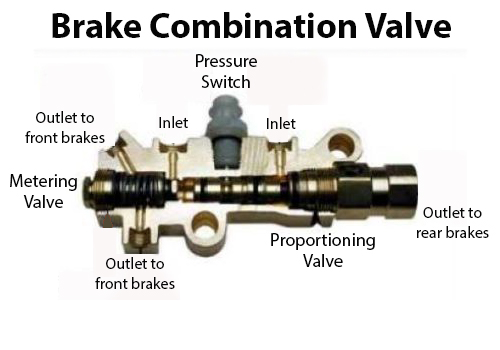
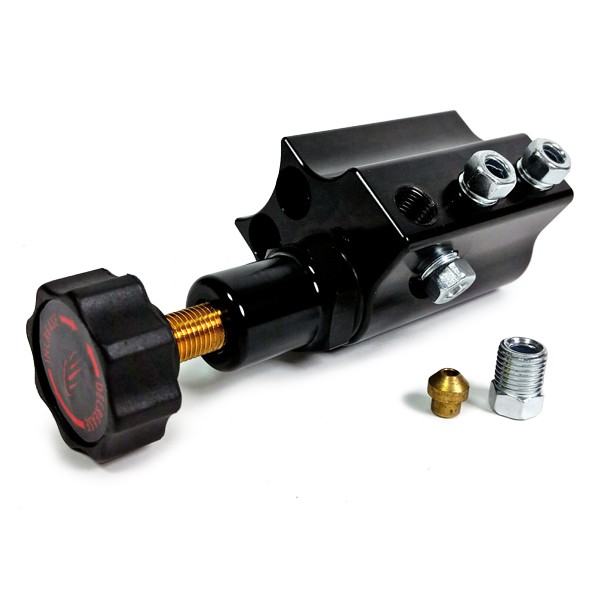
A proportioning valve is used to adjust the pressure going to the brakes. For example, somebody might want 70% front and 30% rear. If you have discs in the front and drums in the rear, this would be preferable. Generally, a car with four-wheel disc brakes will have a 50/50 bias. There are preset proportioning valves or you can buy them adjustable so you can dial them in yourself.
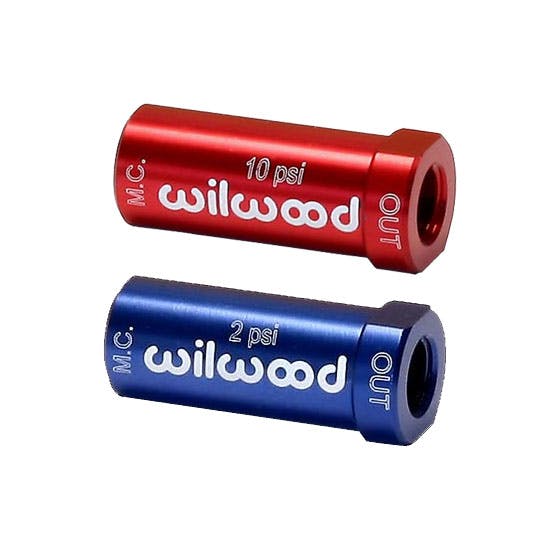
To clarify things a bit more, there are also pressure residual valves. These are little valves that go in-line and basically hold a small amount of pressure in the lines. Typically these are seen where the master is mounted below the floor, so all the fluid doesn’t flow back and overflow the reservoir. Some racers use them as well to help keep the brakes engaged just a tiny bit to help avoid pad knock back.
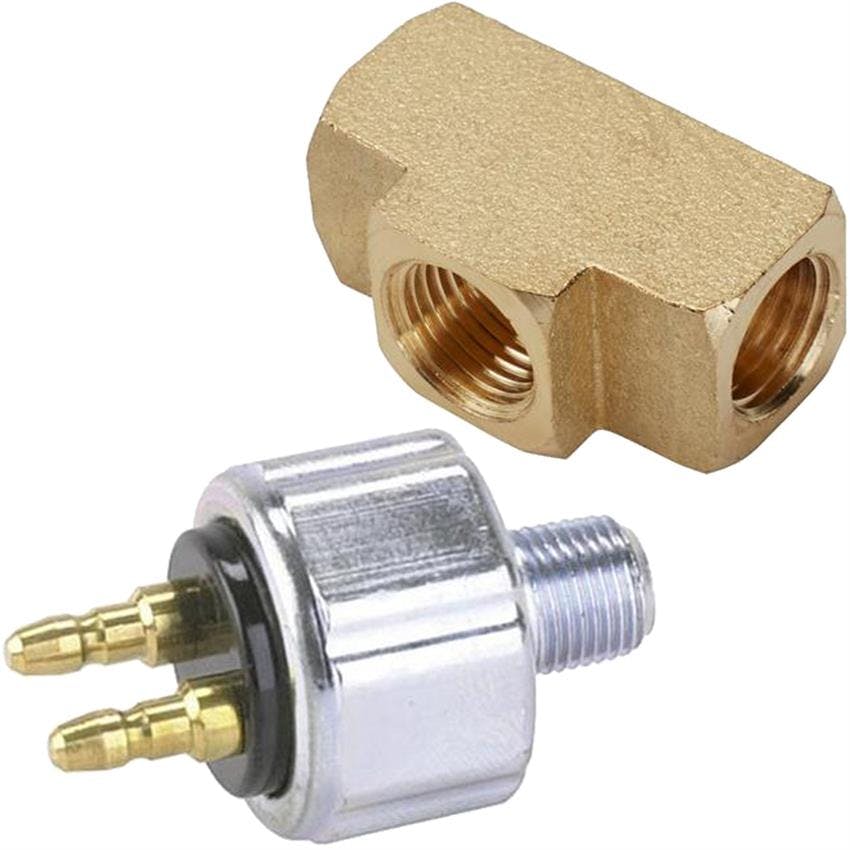
The last thing you might see or use is a brake pressure switch. Typically from the factory, these classics had a spring-operated brake light switch under the dash. You can install a brake pressure switch, which is a small switch that gets plumbed into the brake line. Anytime the switch sees pressure it will then activate your brake lights.
Pad Knock-Back and Spindle Flex
One common thing in racing circles is called pad knockback. What happens is the pads get pushed back, which then pushes the pistons in the calipers back. When you go to apply the brakes, you have to pump the brakes back up to get a pedal again.

Pad knock-back is not an issue caused by the brakes. It’s a result of flexing, which then shows up in the brakes. In the front, these cars have a pin pressed into the spindle. During hard cornering, that spindle flexes – which then allows the rotor to move and push on the pads, which push back on the caliper pistons. In the rear, the axles will flex allowing the rotor to move, which causes the pad knockback.
Under normal cruising and even some light autocross, pad knockback rarely happens. When you’re road racing or really pushing the limits on an autocross is when you’ll see it. Fixing it in front is usually accomplished with a different spindle, such as one that uses a modular hub pack. In the rear, a full floating axle will solve any and all pad knockback.
Time To Upgrade
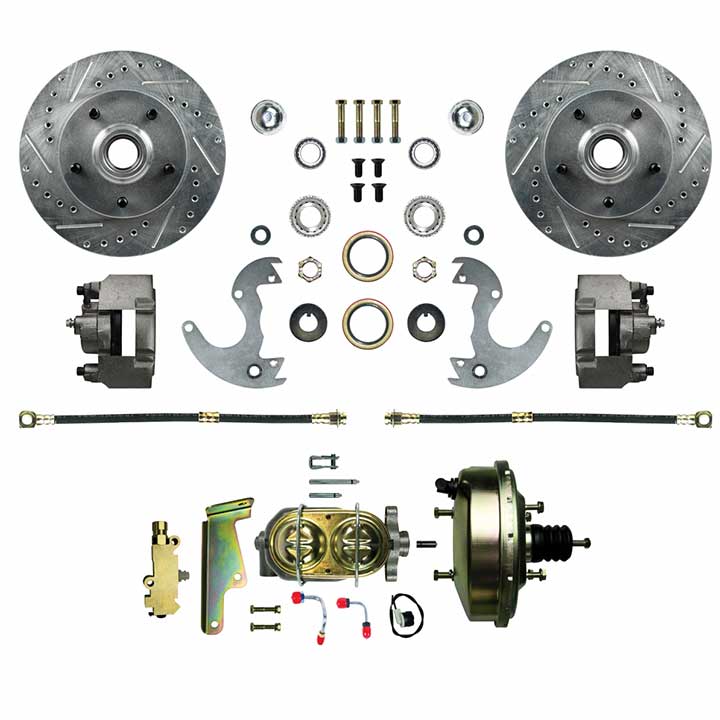
If you’re looking to upgrade from drum to disc, the best bet is to buy a complete kit. These kits are already engineered to work together and come with everything to make them work. If you’re going from a basic disc brake kit to a bigger kit, then we can help there too.
If you have any questions on converting to disc brakes and which ones are the best for your ride, please feel free to give our friendly techs a call at (203) 235-1200 or shoot them an email at info@ss396.com

