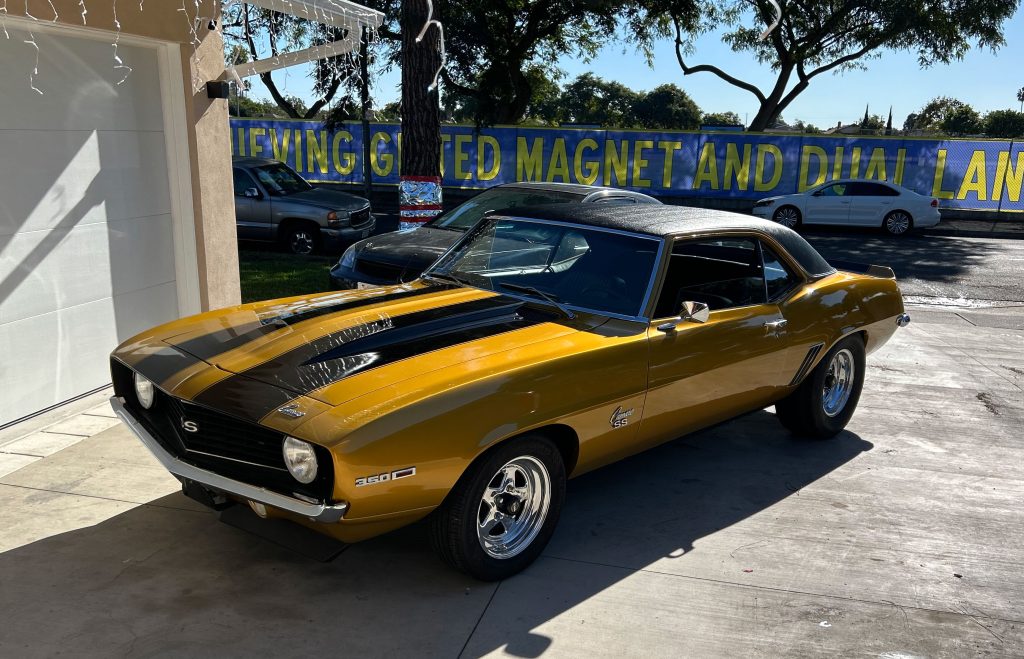
The snow is melting, the birds are chirping, and the V8’s are ready to be rumbling!
Now that winter is finally coming to an end you can get your classic ready for spring and summer. In this article we’ll cover the most important and sometimes forgotten steps you should take when getting your classic ready for all the cruises & car shows spring and summer have to offer. By the end of this article, you can rest assure that you know the necessary steps in getting your classic car sunshine ready!
1. Re-juice the battery.
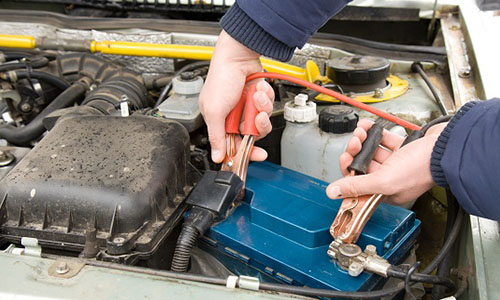
After winterizing your classic car, charge the battery of your vehicle for at least 24 hours. If you had to disconnect your car’s battery, be sure to reattach the battery by attaching the positive cable before the negative cable. To find the most reliable car batteries, check out this guide from The Drive.
2. Time to inspect.
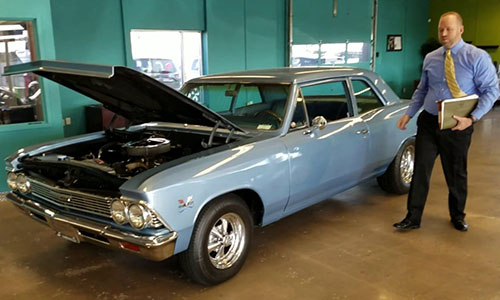
Once you remove your car cover, make sure to do a detailed walk around to check for any signs of insects or animals and to make sure that no damage occurred during storage.
3. Removing winterizing components.
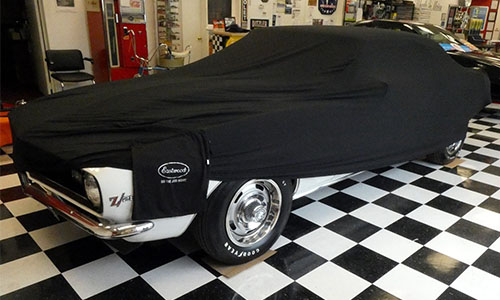
Remove any of the baking soda packets from the vehicle as they may spill if you forget them. Also, remove any sort of covering from the air cleaner/air inlet and exhaust pipes.
4. Look for puddles.
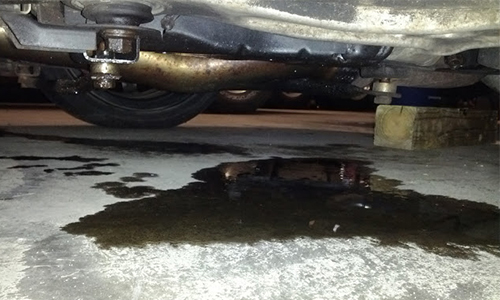
It’s a good idea at this point to check the floor of the car and the ground underneath/around the car for any puddles or any spots that may have leaked during storage. Check all your fluid levels. Make sure they are at adequate levels and make sure the tire pressure is at the PSI it should be as air has most likely leaked out during the storage months.
5. Check your brakes.

Apply pressure to the brakes to make sure A) your brakes are in fact still working and B) that you have a good brake pedal. It’s important to make sure your brakes are working at this point as steel lines can rust out and insects and animals can chew through rubber brake hoses. The last thing you want is a runaway car right after taking it out of storage.
6. Start her up.

Start your vehicle and let it idle for a bit. Always do this is a well-ventalated area, again take a detailed look around the vehicle while it’s running to ensure there are no fluid leaks.
Tip: Place cardboard under the car for quick clean ups!
7. She needs time to shake the dust off.
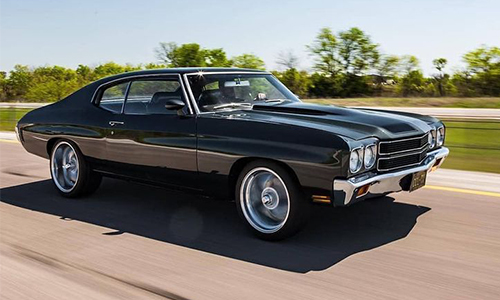
Give your vehicle some extra time to warm up the first time you fire it up after winterizing your classic car. You can do things such as check your lights, horn, wipers, etc. while you wait for its temperature to rise. Also, keep in mind that it’s recommended to break in your car after storage by driving it slowly for the first few miles. Components such as the transmission and rear-end require movement to properly lubricate.
8. Give her a quick check-up.
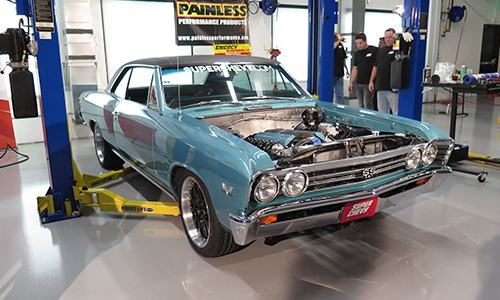
Now that you’ve put a few miles on the car, take a detailed look around the vehicle again to check for any leaks caused by the first movement after the long winter months.
9. Car covers get dirty too.
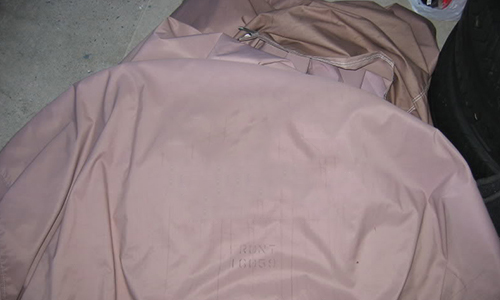
Once your car is uncovered and you won’t be putting it back on the car for a few days, it’s recommended to give the car cover a good cleaning. Be sure to follow the manufacturer’s washing instructions as each car cover may need to be washed differently.
10. She’s ready for the spring and summer months.
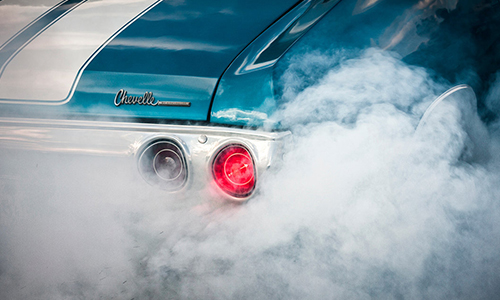
Now that the car is all set and ready for the long road ahead, be sure to lay down a nice strip of rubber to remind your classic what its job is! Enjoy the sunny months while they last as winter will be back knocking on our door sooner than we think. As always drive safe and have fun!

