Seeing Clearly: Auto Glass
Auto glass is an important component in any vehicle, providing structural support, aerodynamics, and contributing to safety and comfort. Over time, the industry has advanced
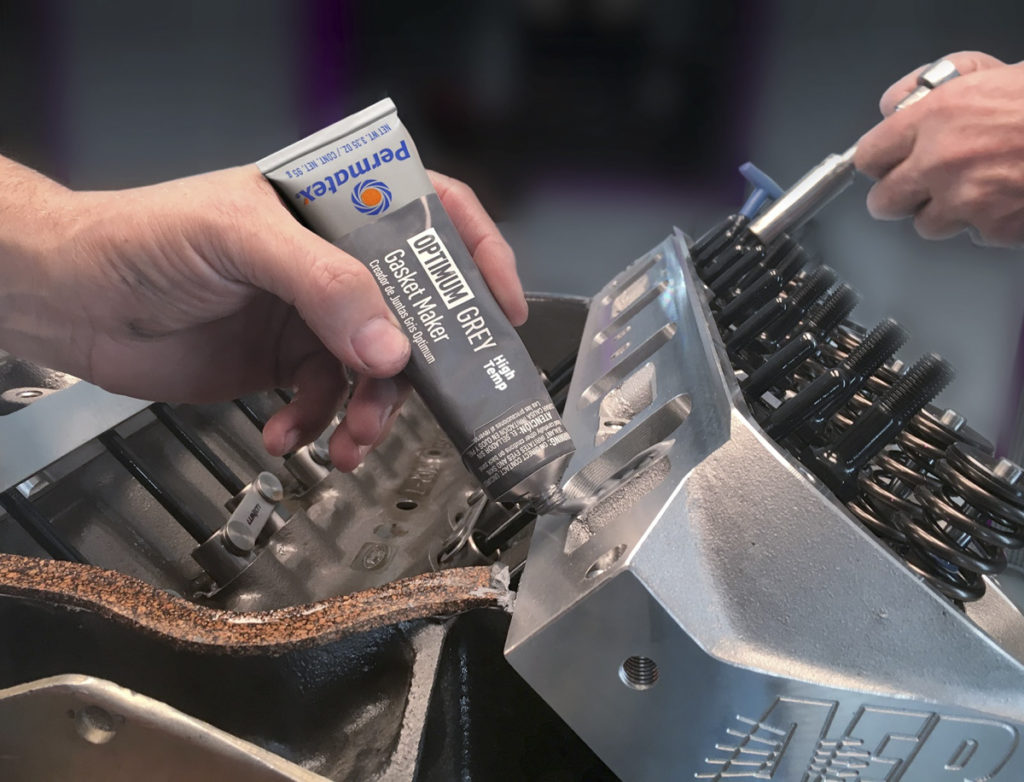
Whether you’re a seasoned mechanic or a DIY enthusiast, understanding how to use an RTV (Room-Temperature Vulcanizing) gasket maker can be a game-changer when it comes to sealing gaps and preventing leaks in your engine. But there are a few tricks to make RTV work better – but more isn’t always better!
RTV(Room-Temperature Vulcanizing) gasket maker is a versatile silicone-based material used to create a flexible, durable gasket that can withstand a wide range of temperatures and pressures. Unlike traditional gaskets, which are pre-cut and shaped, the RTV gasket maker comes in a liquid or paste form and cures at room temperature to form a rubber-like seal. In automotive applications, it’s popular for sealing engine components like valve covers, oil pans, and water pumps.
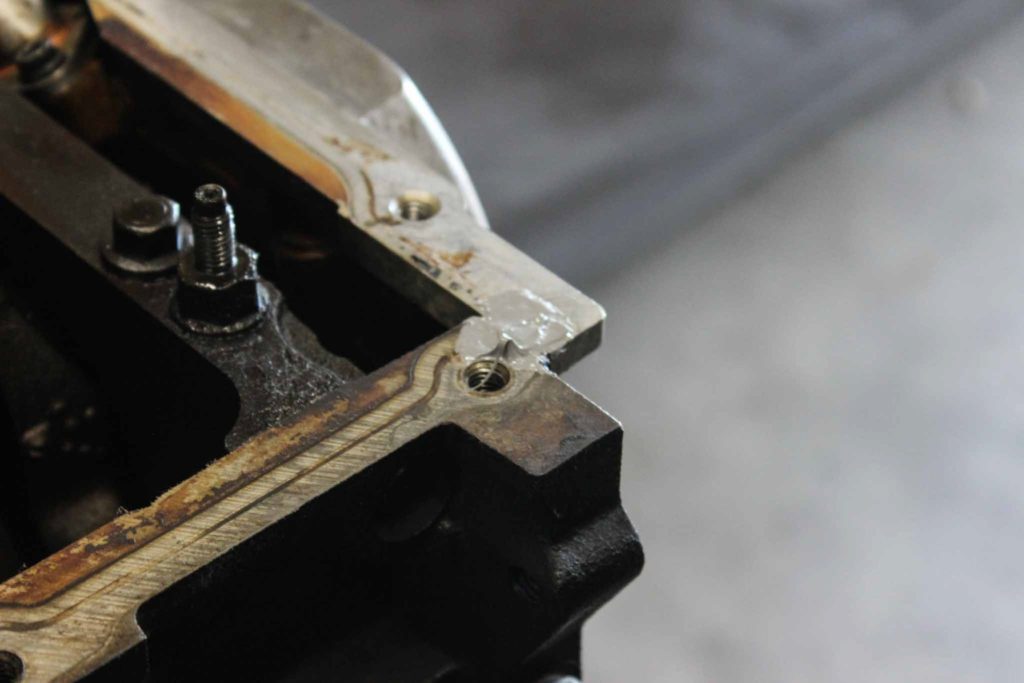
Gaskets with unique shapes and designs may occasionally require the use of RTV as a supplementary sealer. However, it’s crucial to recognize that RTV should not replace the clean and dry installation method recommended for these gaskets. Instead, RTV serves a specific purpose in sealing corners and stepped casting areas with gaps that may compromise a leak-free assembly.
Preparation: Begin by preparing the surfaces that will come in contact with the RTV gasket maker. Clean the mating surfaces thoroughly using a surface cleaner or degreaser to remove any oil, dirt, or residue. Use a gasket scraper or razor blade to ensure a smooth and clean surface.
Masking (Optional): If you want a neat and precise application, use masking tape to create borders around the area where you’ll apply the RTV gasket maker. This can help prevent excess material from spreading beyond the intended area.
Nozzle Attachment: Most RTV gasket maker products come in a tube with an applicator nozzle. Cut the nozzle at a 45-degree angle to achieve the desired bead size. Keep in mind that a smaller bead is often more effective than a larger one.
Application: Squeeze the RTV gasket maker onto one of the mating surfaces in a continuous and even bead. Ensure complete coverage, especially around corners and edges. If you’re working on a large surface, work in small sections to prevent the material from drying before you finish.
Assembly: Assemble the parts immediately after applying the RTV gasket maker while it is still wet. This ensures proper adhesion and sealing. Tighten bolts to the manufacturer’s specifications to compress the gasket and allow for an optimal seal.
Excess Cleanup: Wipe away any excess RTV gasket maker with a clean rag or paper towel. Pay special attention to areas where the gasket material may have spread beyond the intended surface.
Curing Time: Allow the RTV gasket maker to cure according to the manufacturer’s instructions. Typically, it takes 24 hours for the gasket maker to fully cure and provide maximum sealing effectiveness.
Final Inspection: Once the RTV gasket maker has cured, inspect the seal for any signs of leaks or imperfections. Tighten bolts if necessary and reapply the gasket maker if there are any areas that require additional sealing.
Simply put, YES! There is such a thing as too much. RTV should be used as a supplement to a gasket and only in small amounts. In fact you don’t want RTV inside your engine as it will break down and cause oil passages to clog, leading to engine failure.
Using an RTV gasket maker is an easy task. With the right product and proper application techniques, you can achieve reliable and long-lasting seals for your engine components. Whether you’re tackling a routine maintenance task or working on a custom project, properly using an RTV gasket maker can help you keep your engine running smoothly and leak-free.
If you need any help sealing up your engine, give our friendly techs a call at (203) 235-1200, and be sure to hop on SS396.com!
Auto glass is an important component in any vehicle, providing structural support, aerodynamics, and contributing to safety and comfort. Over time, the industry has advanced
Things That Are Killing Your Classic Car Keeping your classic car inside a garage should keep it in pristine condition, right? Well there are things
This all started when Derrick’s dad asked him if he was interested in starting a project and owning a muscle car. He had seen his dad’s