Converting Drum Brakes to Disc Brakes
It’s no secret that disc brakes are superior to drum brakes. Disc brakes are lighter, less likely to overheat and see brake fade, and have fewer moving parts. There really is no downside to upgrading to a modern disc brake. It’s a much safer and reliable alternative to a drum brake which isn’t up to today’s safety standards.
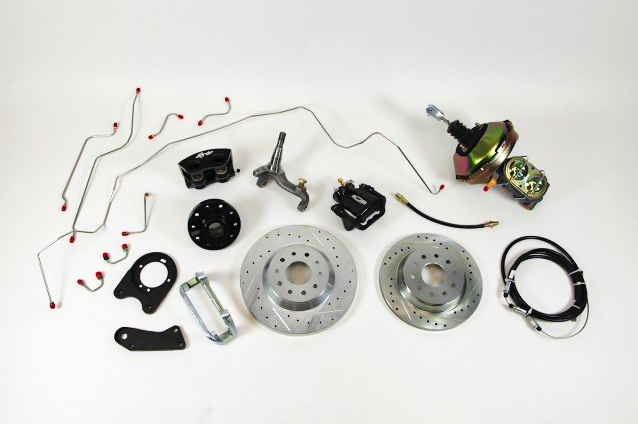
The bare minimum upgrade is to swap the front drum brakes for disc brakes since that handles 70% of the braking on your car. The four-wheel disc is even better but if your budget is tight then you can swap just the front for now. We offer many different kits to complete a disc brake conversion.
The install we are showing you here is one of our upgraded disc brake kits from TRSD and we are installing it on a ’67 Nova.
Safety First, Disassembly Second
Converting drum brakes to disc brakes is not a super hard job, but does require some knowledge, tools, and safety protocols that are above changing your oil. The first step is going to be getting the front end up in the air, properly supported, and the front wheels off.

More likely than not, you will need to replace the spindles. This means that you will have to remove the factory spindle assembly which can be a bit tricky if you’re not careful. How we like to do this part is to disconnect the brake hose to the drum brake set up. Then we remove the outer tie rod from the steering arms. In the case of this Nova, we didn’t need to replace the spindles as it already had a disc brake kit on it before, we were simply upgrading the brakes.
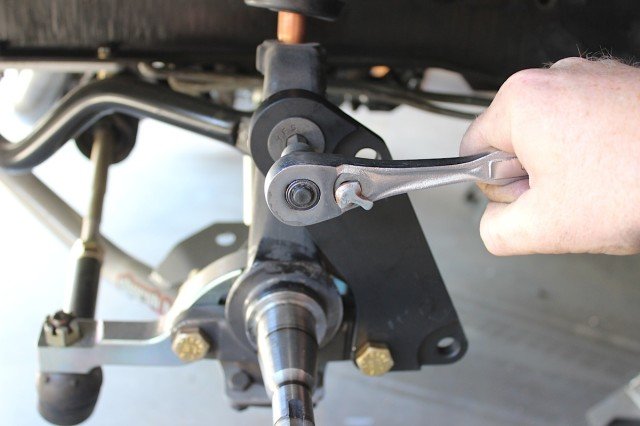
Here’s the part that needs to be handled very safely. Loosen both the upper and lower ball joint castle nuts, but don’t remove them all the way – halfway undone will suffice. Then take a large hammer and smack the spindle at the ball joint to pop the spindle loose from the ball joints. This might take several hard whacks to happen. When both pop loose, place a floor jack under the lower control arm and raise it up to relieve the pressure on the spindle and ball joints.
Then you can remove the castle nuts completely, and slide the entire drum brake and assembly completely off! The only piece you will reuse off this is the steering arm, so remove that and install it on the new spindle, then install the spindle onto the ball joints. Make sure to tighten the castle nuts all the way down and secure them with a cotter pin.
Putting A Stop To Bad Brakes
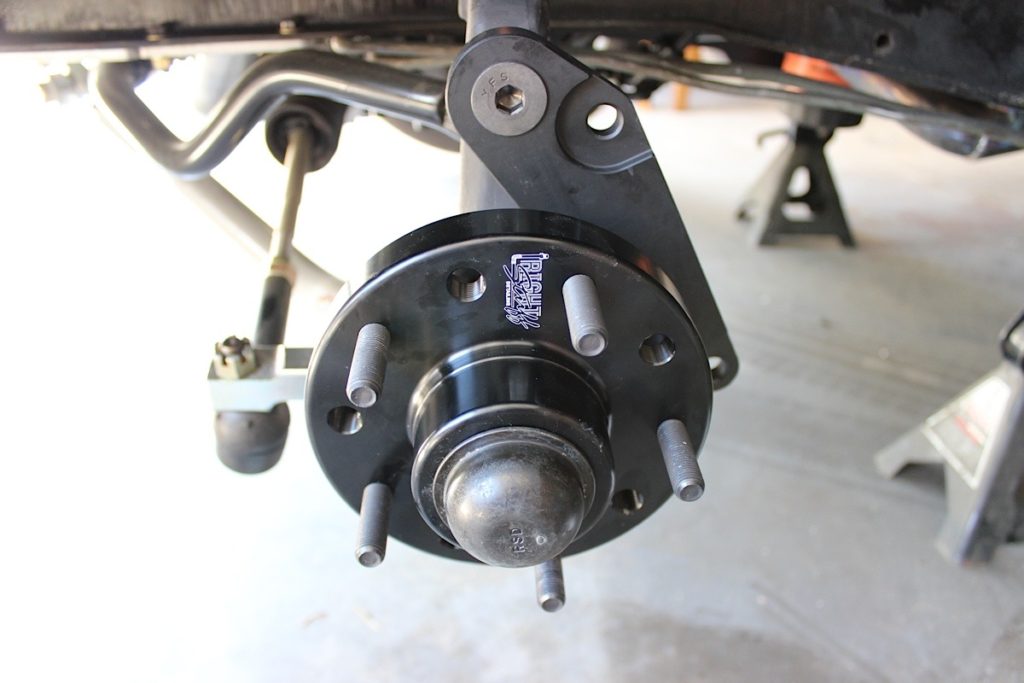
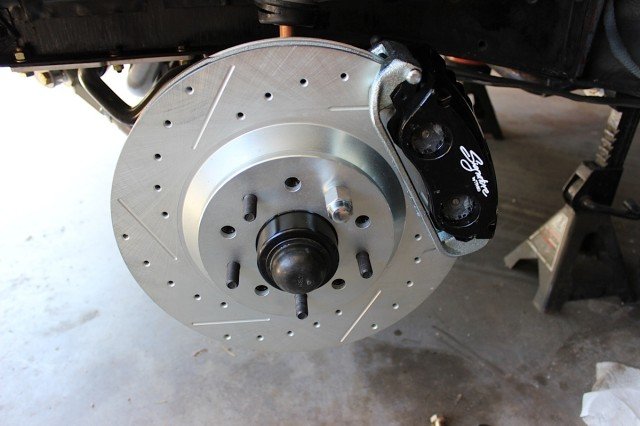
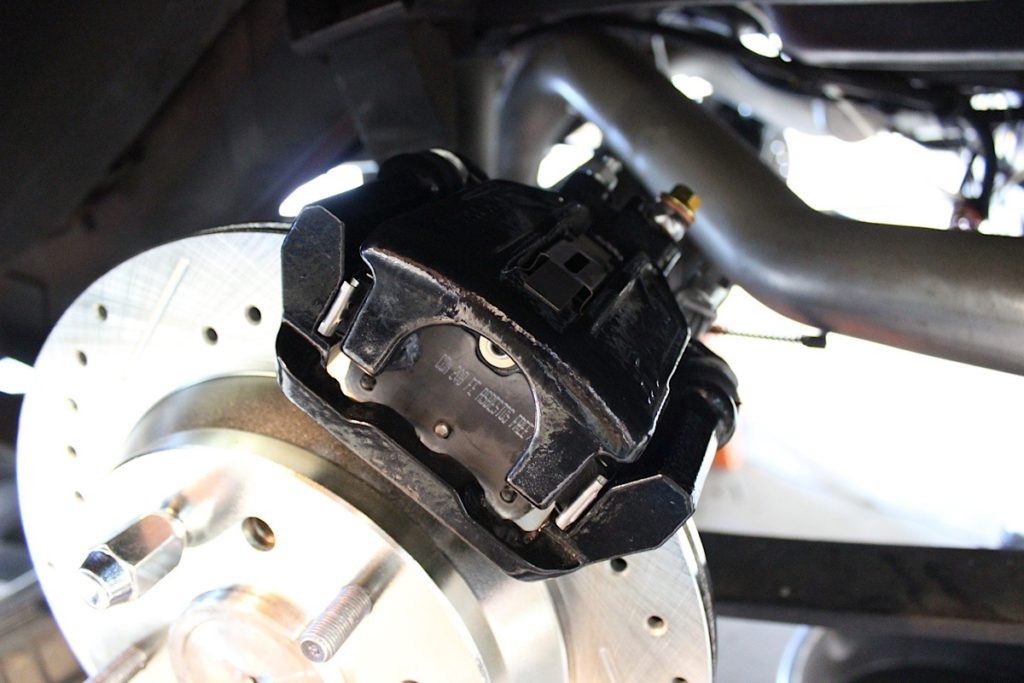
The next step is to assemble the new disc brakes onto the new spindles. Usually, at this point, you will bolt the caliper brackets to the spindle. In most kits the hub and the rotor are one piece – you will pack the bearings, install them into the rotor, along with a seal on the backside then slide it onto the spindle. In this particular kit, the rotor and the hub are separate pieces. After torquing down to the proper specs, install the dust cap. Then you can slide the caliper onto the rotor and bolt it to the caliper bracket. The last step here is to connect the brake hose to the hard lines on the frame.
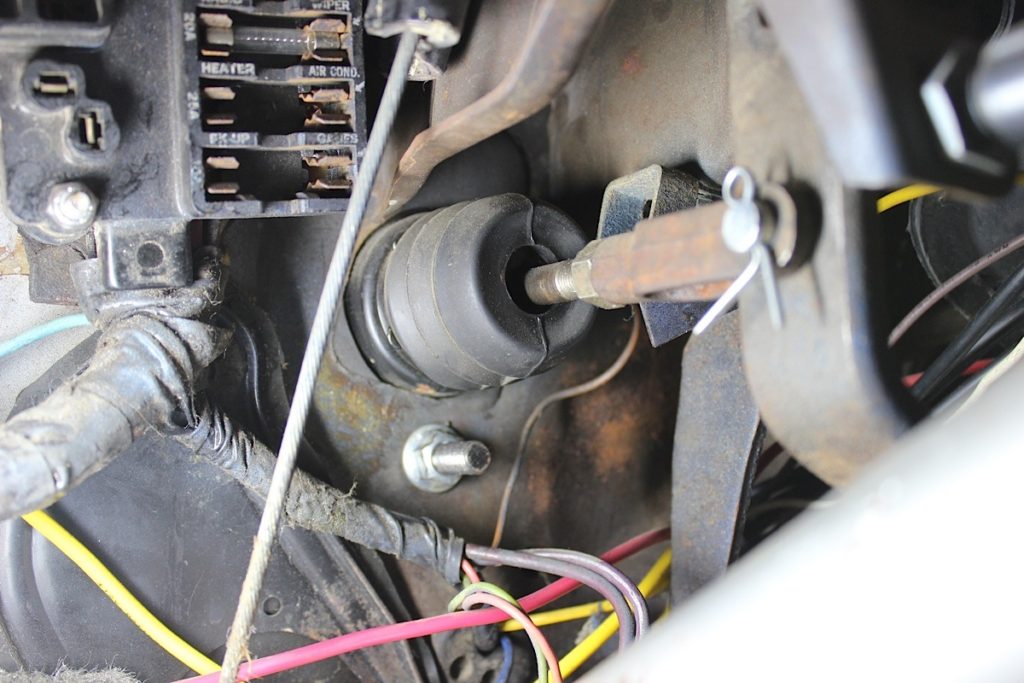
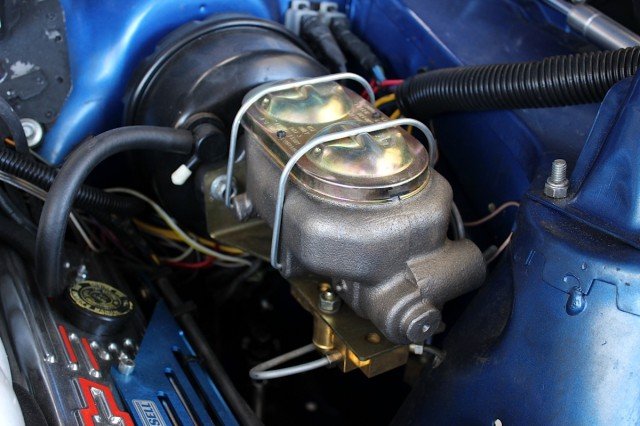
Most of these early classics came with a single pot style master cylinder which isn’t safe or up to the demands of modern braking. You will need to crawl under the dash and disconnect the clevis from the brake pedal, then remove the master from the firewall. The new brake booster attaches with four bolts and will need a constant engine vacuum attached. The new dual reservoir master cylinder will bolt to the new booster.
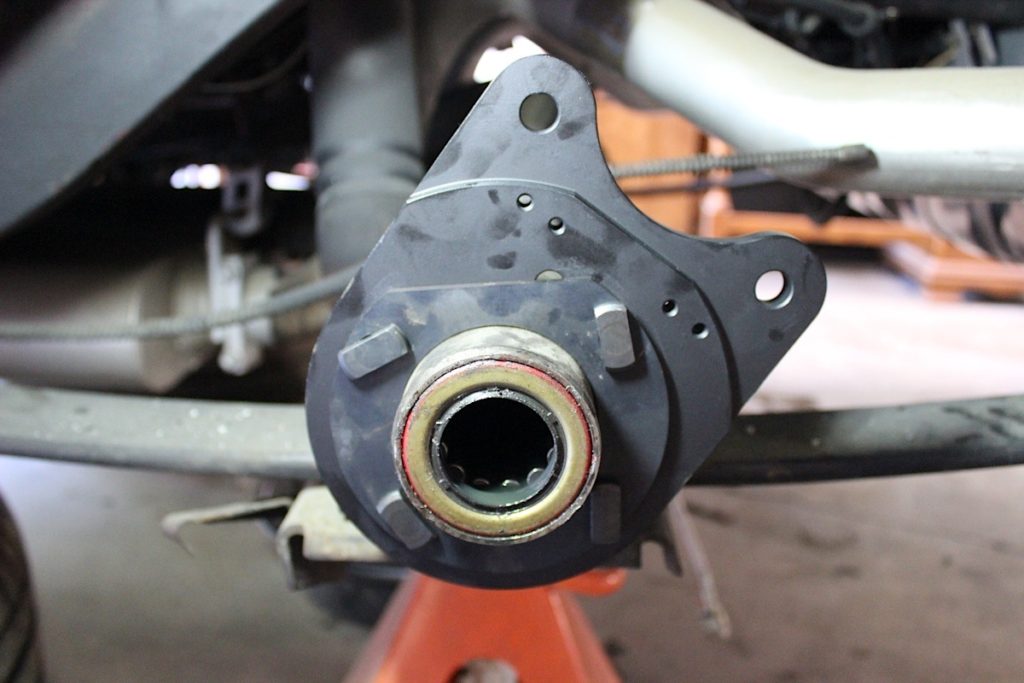
If you want to upgrade the rear drum brakes to disc brakes, the process is very similar to the front. The biggest difference is that there is no spindle to swap out. You will most likely have to pull the rear axles out of the housing to remove the drum brake backing plates and install the disc brake mounting brackets.
At this point grab a friend and start bleeding those brakes! A few tips for your new setup: make sure the brake pedal arm isn’t all the way up against the stop. There should be a 1/8th or so gap there – if there isn’t, then the brakes can’t fully release. Also triple check the length of the pin that goes from the booster to engage the master – if it’s too short your pedal will sink and if it’s too long the brakes will never disengage.
Overall this is not a very hard job. If you’re an average mechanic it might take you a weekend to fully complete. Rest assured though, the difference in braking from drum to disc is a night and day difference and well worth the work!
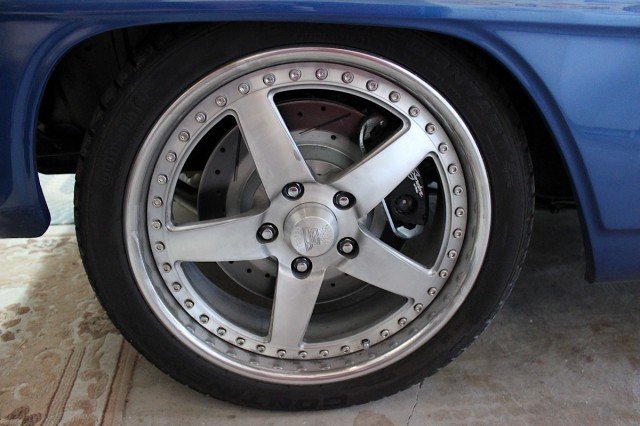
There’s many options for brakes depending on your intended use for the car and budget. If you have any questions feel free to call us at (866) 358-2277 and we are always happy to help!

