Removing and Installing Ball Joints
Installing ball joints isn’t always a fun job, but is a necessary one. Worn-out ball joints can cause slop in your steering and can be dangerous if they fail; especially at high speed. If your ball joints need replacing, there are a few different options out there.
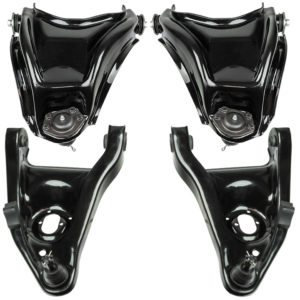
First, you can replace the entire control arm. We offer complete new stamped arms that come with new ball joints already installed. Or maybe you want to upgrade to an arm with a little more performance-minded like a tubular control arm – we have those available too.
If you’re wanting to restore the control arms that came on your car though, that’s not a problem. This job can be a little intensive so if you aren’t confident about it, take the car to a mechanic.
The first step with installing new ball joints is getting the old ones out. You’ll need to get the car in the arm safely and have the battery disconnected. You’ll need to remove the wheels and the spindles. This requires releasing the tension on the springs.
Click here to read our previous article about installing coil springs so you can see the process that’s required.
For the process of Removing and Installing Ball Joints, we found this video below that does a great job showing the process.
Removing Old Ball Joints
With the wheels, brakes, and spindles out of the way – now’s the time to start working on removing the old ball joints.
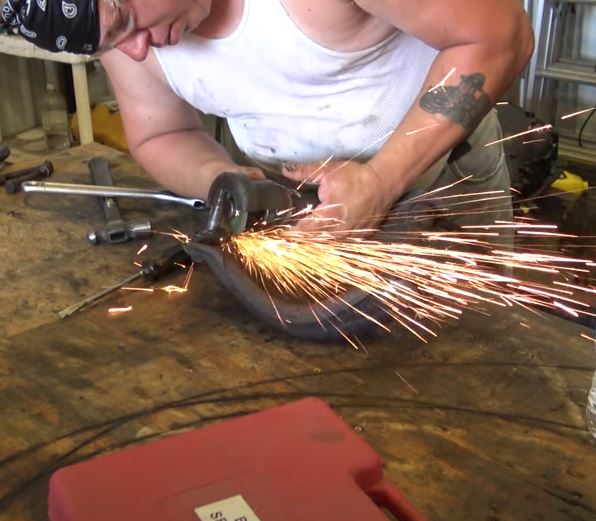
The top ball joint is held in place with four rivets. There are many ways to get these out but generally, the easiest is to grind the heads off, drill out the rivet, then punch them out. This does require a bit of work to get done. With the rivets gone, you can then work and pry the old ball joint out of the way.
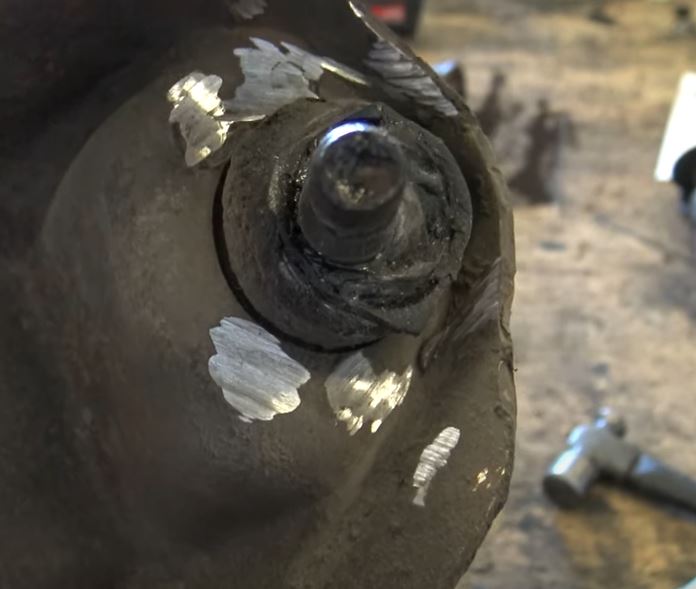
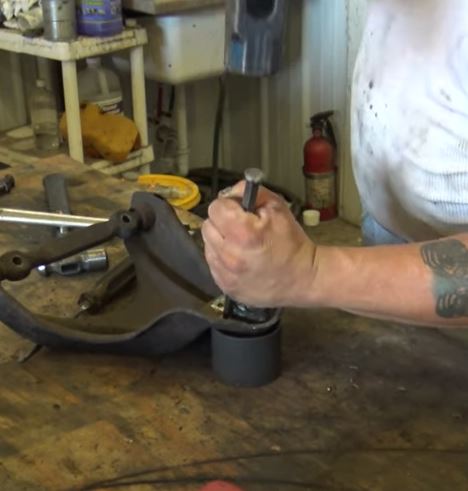
The lower ball joints are pressed into place. In order to get them out, you have to press them out. Now you can completely remove the arm and press them out with a hydraulic press, or you can use a ball joint service set. These can be had for fairly cheap or generally, you can rent them from your local auto parts store. Pro-Tip: spray some penetrating fluid around these and let them soak overnight.
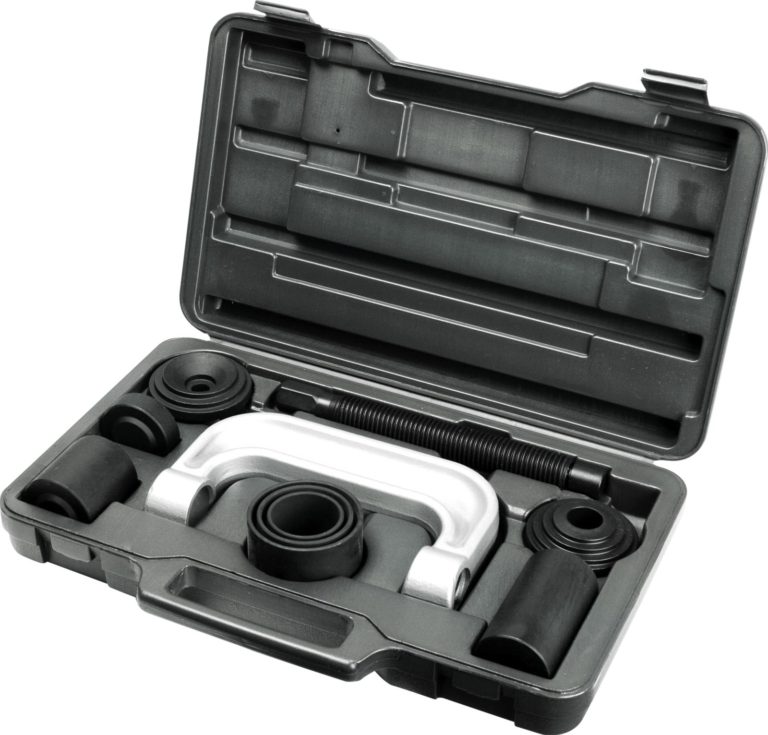
When pressing the ball joint out, you’ll need to get the right size cup in the kit that will allow the pressure to be put on the outside of the ball joint. That way when you start to push it out, the ball joint can go inside the cup and out of the control arm.
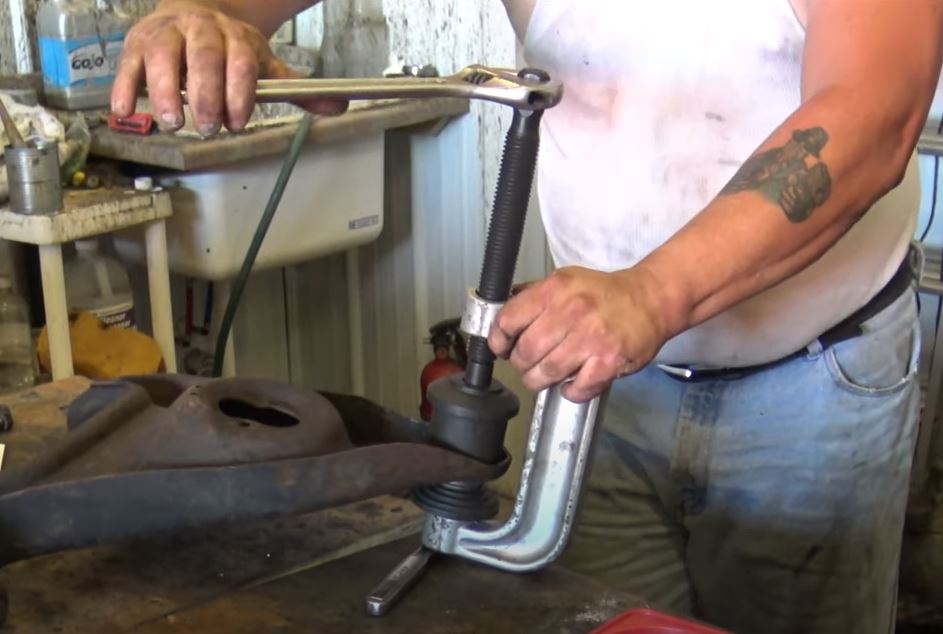
With both ball joints out, take the time to use a wire brush and clean the areas of any and all debris or rust. On the lower control arms, it’s common for them to crack on the outer edge – look for any hairline cracks and if there are any cracks, get a new control arm.
Before installing the new ball joints, take the lower ball joint and place it in your freezer. What we are doing here is shrinking down the ball joint as much as we can to make installation easier.
Installing New Ball Joints
While the lower ball joint is cooling off, start installing the uppers. Luckily replacement ball joints don’t require you to heat up and install a rivet like the originals. Replacements will use bolts and nuts to secure the ball joints in place, making installation easy.
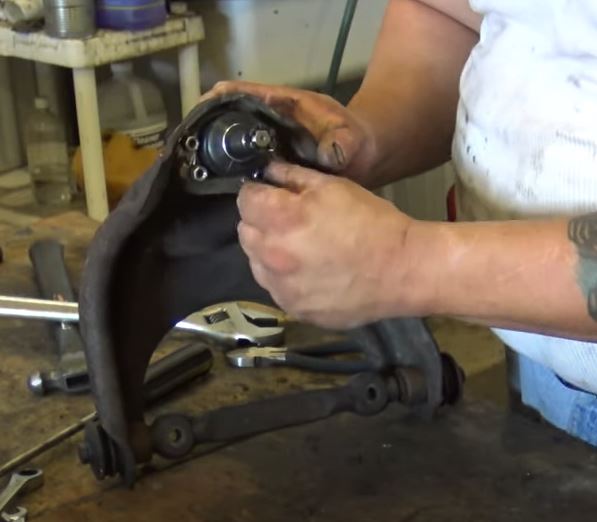
With the uppers out of the way, let’s look at the lowers. The same ball joint service kit you used to remove the lower ball joints will be used to install the lower ball joints. It can be a bit tricky since you’ll need a cup that fits onto the ball joint lip, and then another one on the top side that will allow the ball joint stud to come through.
Once you have that figured out, take the ball joint out of the freezer and press it into place. You’ll want to make sure that the ball joint is fully engaged in the control arm.
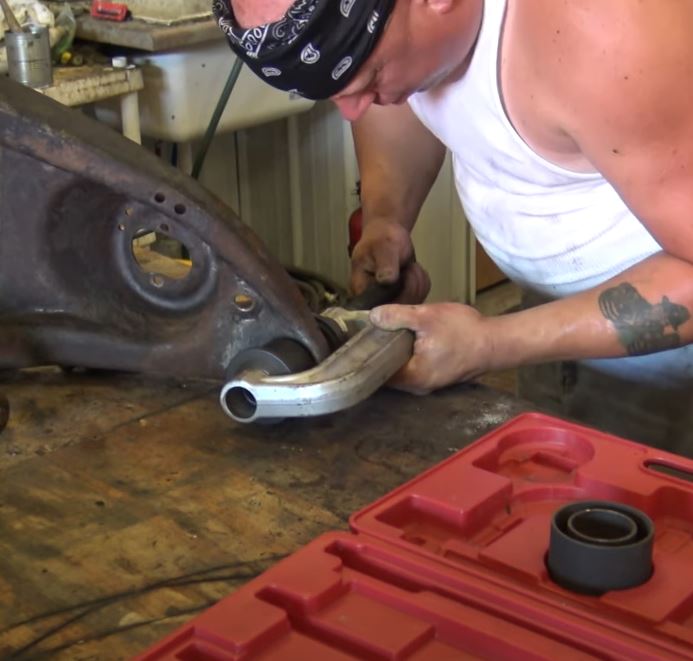
With your new ball joints in place, reinstall the coil spring, spindle, brakes, and wheels. If you have any other questions about the process to install ball joints or need to purchase ball joints, hop on SS396.com or give our friendly techs a call at (235) 203-1200

