How To Reupholster: Installing Seat Covers Like The Pro's
Think you can’t reupholster your seats? Installing seat covers doesn’t have to be done by a professional! Car folk are generally pretty handy in the garage and there’s generally only two things they like to farm out: paint and interior. We want to show you that you don’t have to farm out upholstery, you can do it yourself!

If you have the patience and dedication to build your own engine, rebuild the suspension, or swap that rear end over to a 12-bolt, then you have it in you to reupholster your factory Chevelle, Nova, or Camaro seats. The process is the same for any of these cars and just about any classic car.
Once you have the new upholstery, take it out of the box at least a week ahead of time. The upholstery generally comes folded up in a box which is okay. You want to open it up, lay it out flat and let it relax. It’s better if it’s somewhere warm like inside your house instead of a cold garage. This will help relieve the creases and folds in the material. When you’re ready to install the seat covers lay them in the sun to warm them up. This will help them be more pliable to work with.
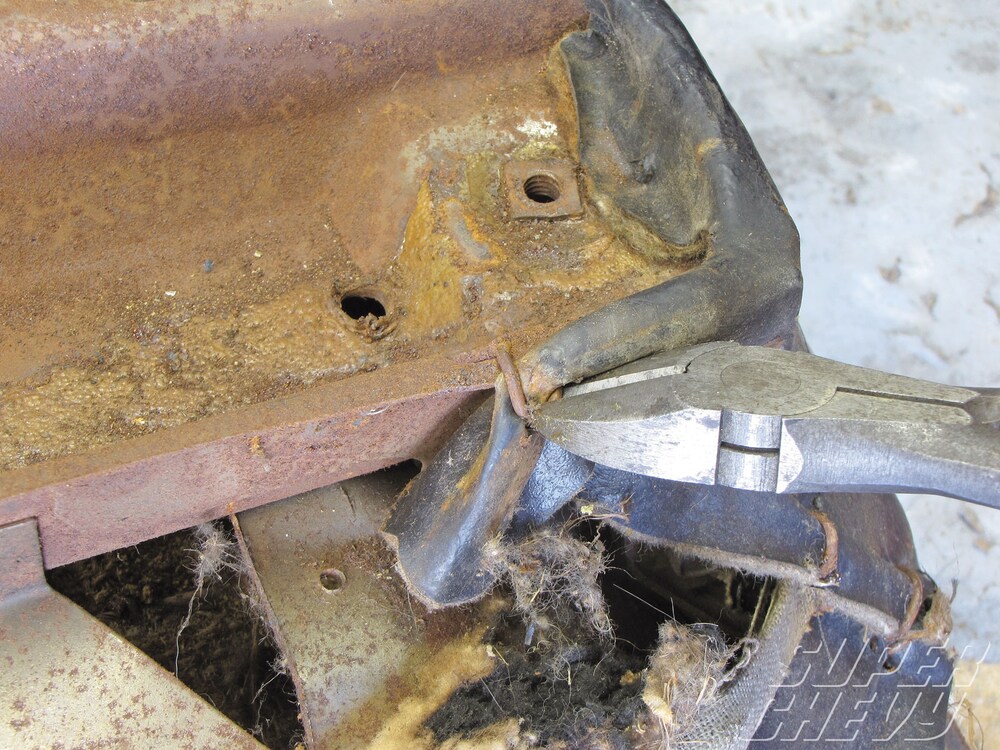
The next step is to strip down your factory frames and springs. Inspect for broken springs and repair or replace as necessary. You might even give them a quick coat of paint.
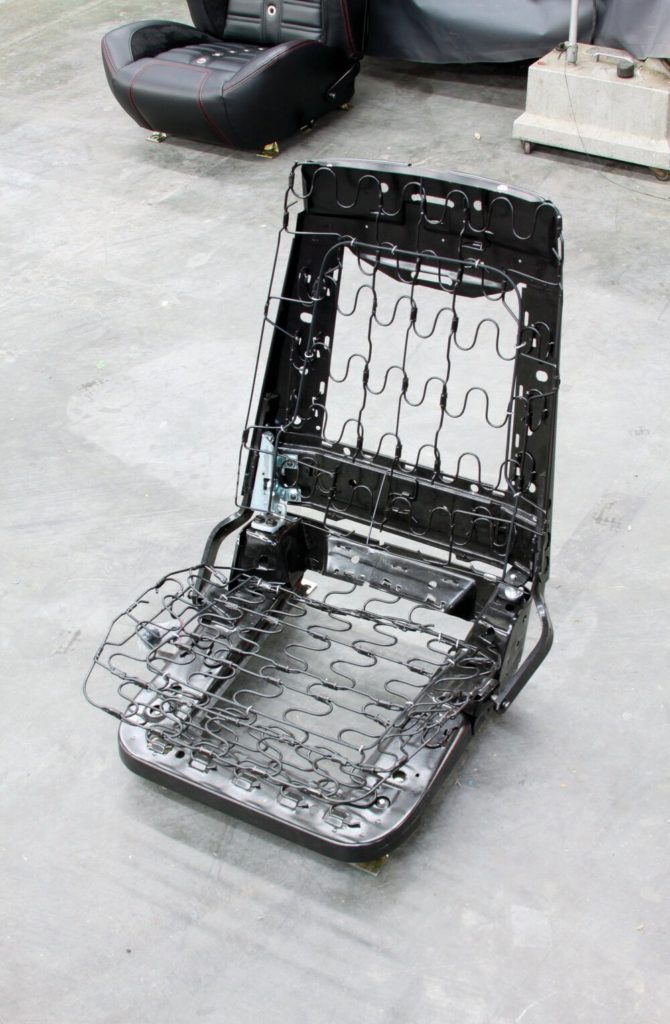
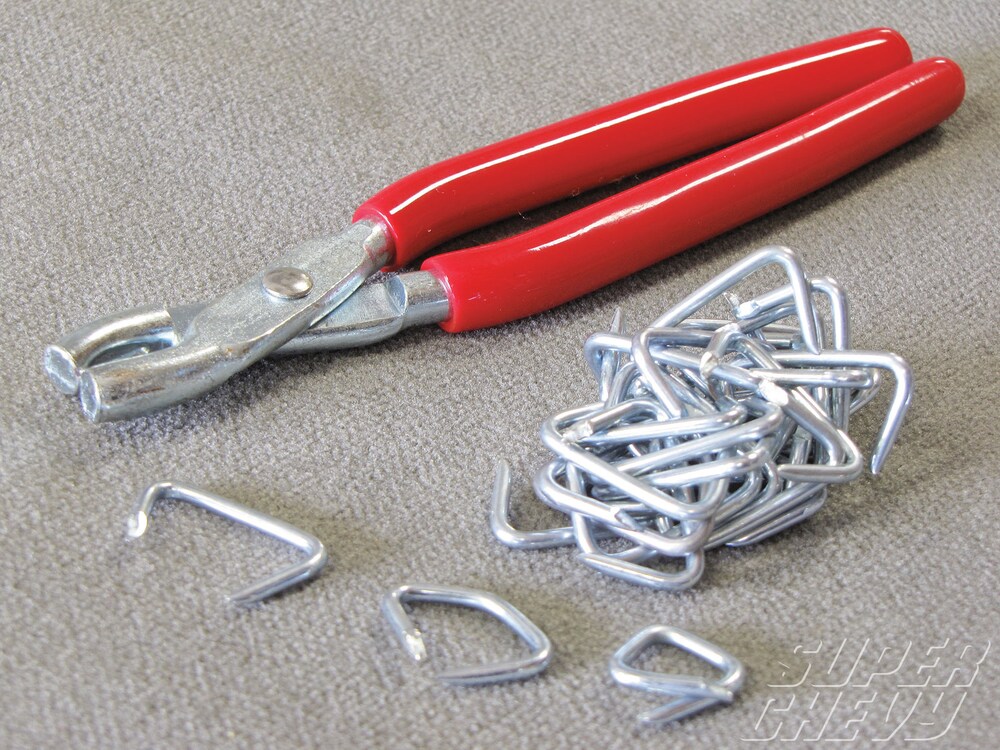
With stock installations, you’ll see a layer of burlap on top of the springs or under the foam. This layer is to protect the springs from digging into the foam. While it’s not necessary to use burlap, you can use any thin material you have such as felt found at any fabric supply store. Secure this down with a few hog rings, it’s not necessary to go overboard with the hog rings here.
Reupholster Front Seat Covers
Bucket seat installations are a little more work than the rear bench seat. The front buckets you’ll want to get what are called listing wires. These are solid core wires, and you can use a metal coat hanger if you can’t find the correct listing wires. You’ll need to trim these to the correct length and slide them in the slots on the inside of the seat cover. Remember to start with the seat cover flipped inside out during this process.
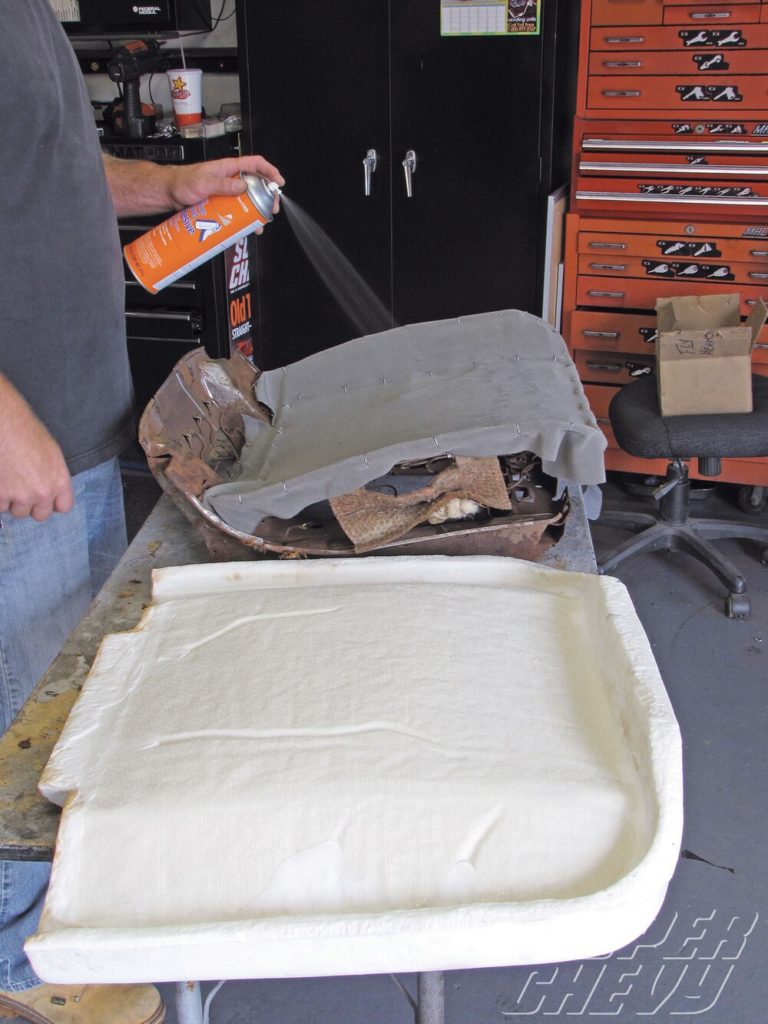
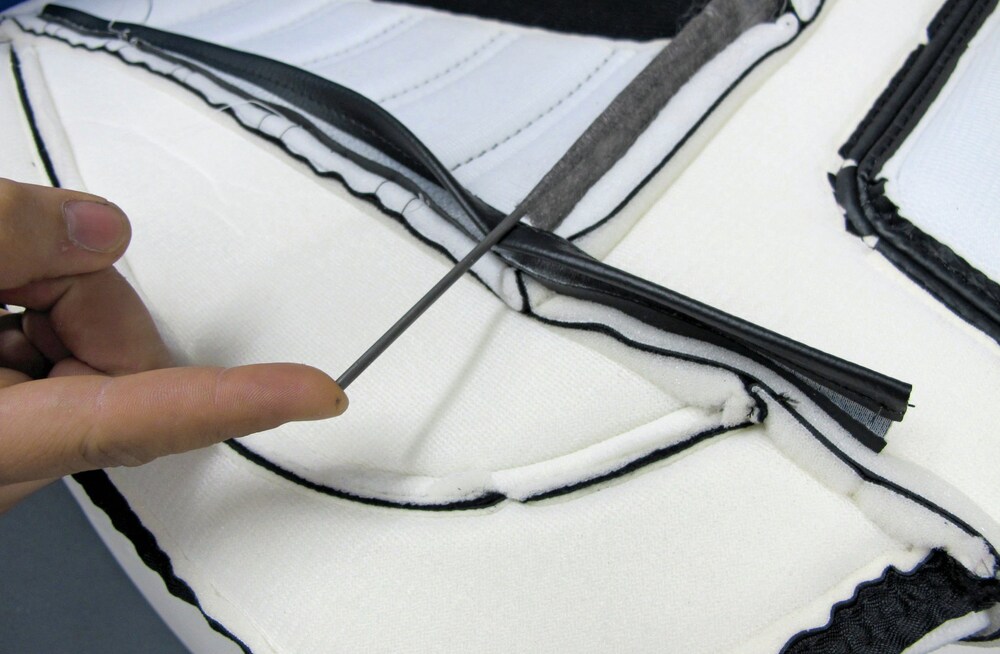
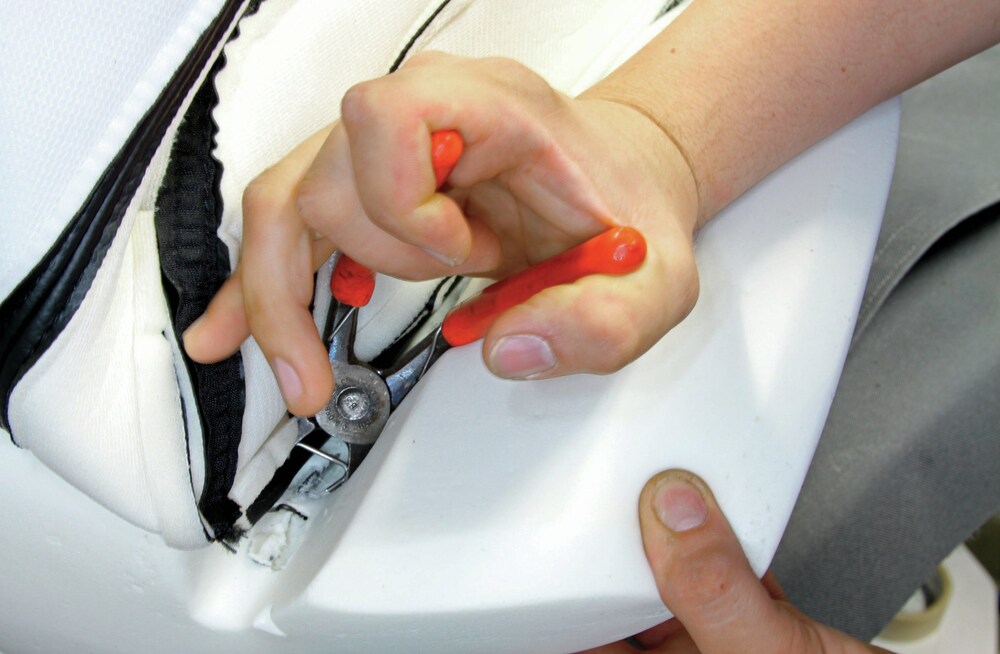
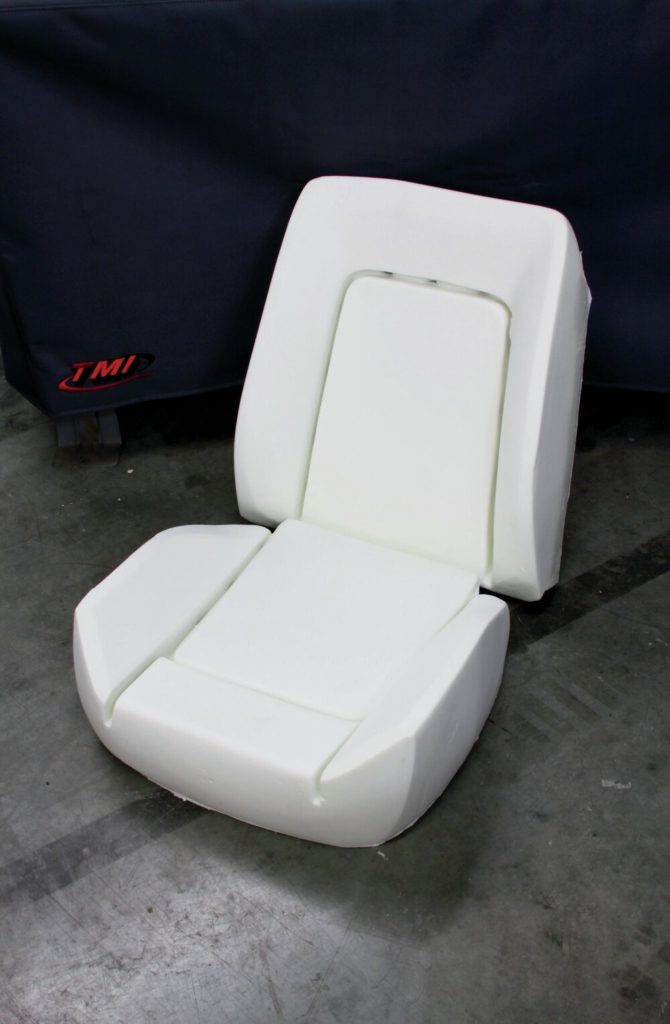
On most applications you will use a high-tack 3M spray adhesive to glue the foam into place on top of the frames/felt. With the foam laid on the frames and the seat cover laying on the foam, start attaching the covers to the frames with hog rings. You’ll want to make sure that the hog rings are going around the listing wire, through the foam and around the frame. You’ll do this for both sides.
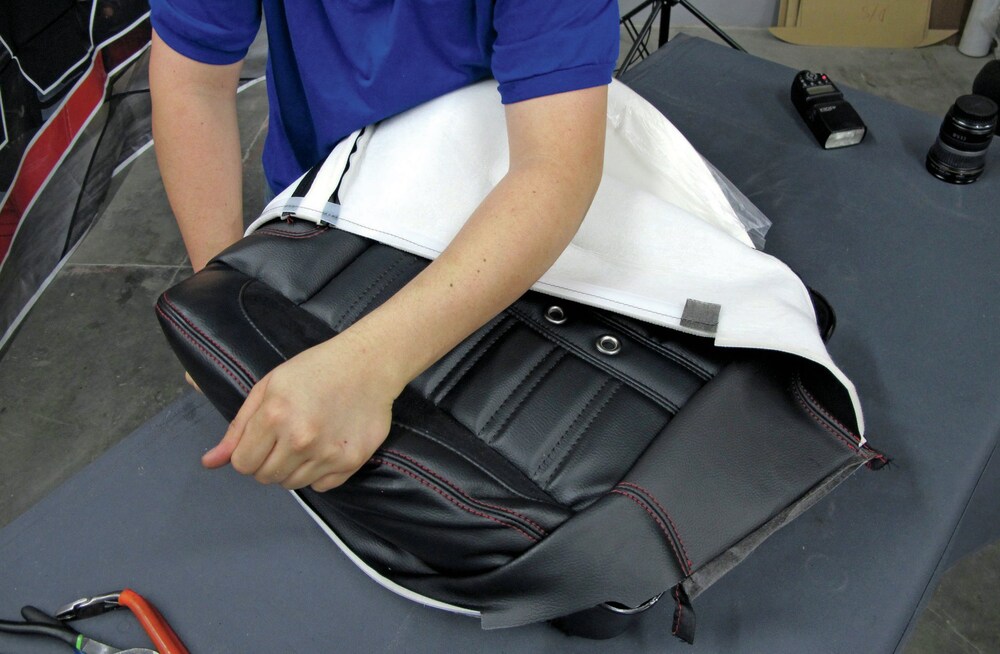
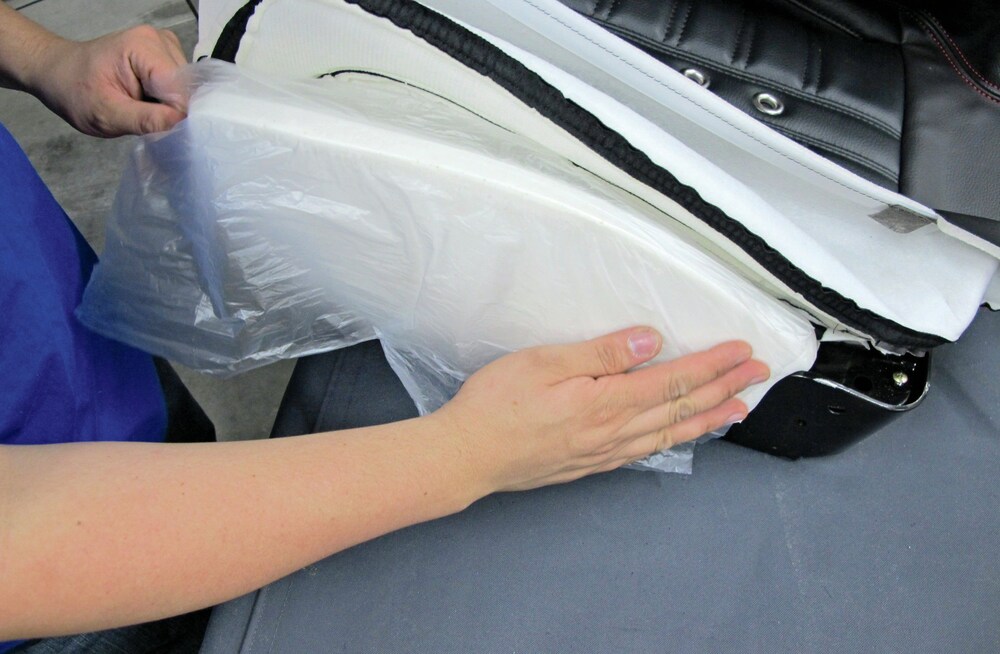
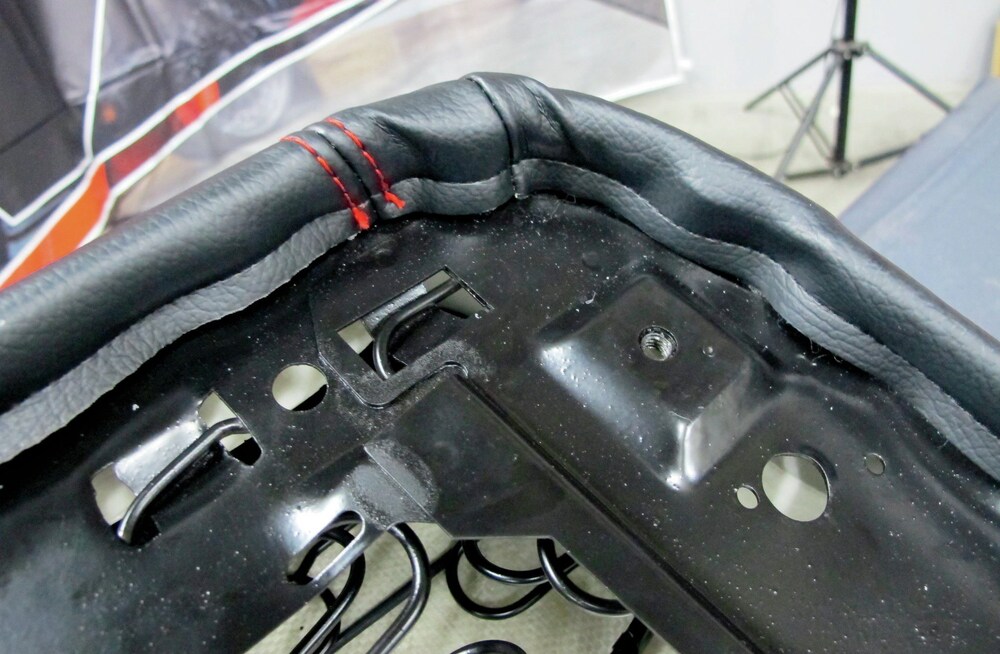
Naturally, the next step is to then flip the seat cover around the right side. However before you do that one trick of the trade is to apply a few thin strips of plastic to the edges of the foam. This will help the cover slide over the foam and be able to move around. You can cut some strips from a plastic grocery bag for this and use a little bit of 3M adhesive to hold them in place. Then flip the seat cover over and start working it around to get it situated properly. Then you’ll start by attaching the edge of the seat cover to the frame using the hog rings. It’s best to do one or two per side and work your way around in a pattern than all of one side at once.
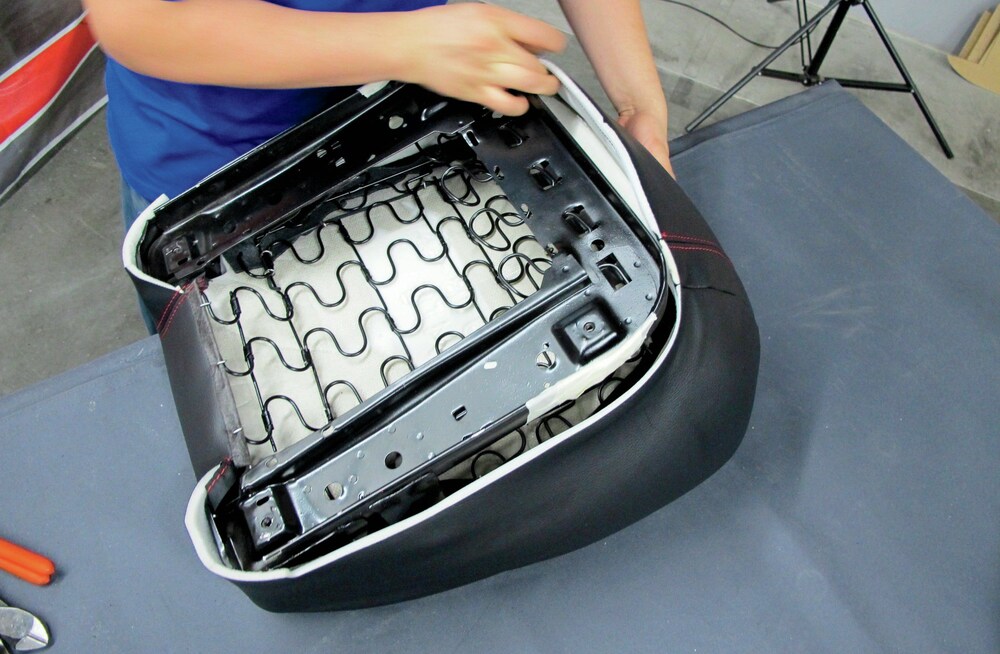
If it isn’t perfect – just pop off the hog rings and start over! Luckily you can do it over and over till you get it right. One thing you might have is a few creases or folds that are still showing. Not to worry, a steam gun will take them right out. If you don’t have a steam gun, carefully warm them up with a hair dryer and massage the area to work the crease out of the material.
Reupholster Rear Seat Covers
The rear seat is much easier than the front seats. You’ll do the same process of applying a layer of burlap or felt over the springs as the front seats. Then you’ll want to lay down about 1″ thick foam over the seats. You can buy this in rolls from a fabric store as well, just cut it to fit.
Starting with the seat cover inside out as well, lay it on the seat and flip it right side in. Pull and move it around and start by attaching one hog ring on each side to make sure everything is centered. Then it’s just a matter of adding hog rings all the way around. Remember to add heat/steam and massage to get any remaining creases out.
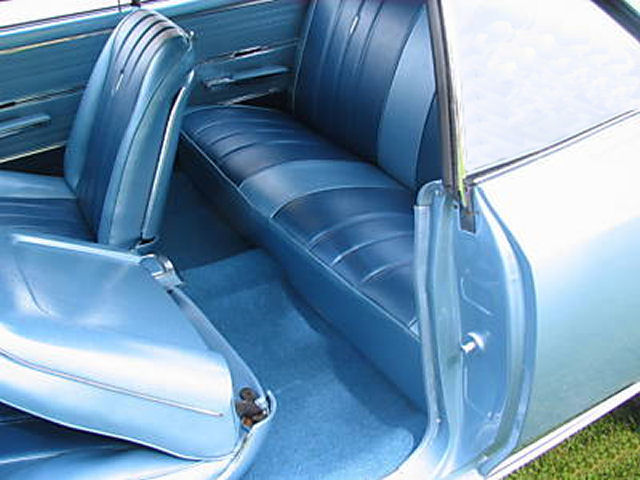
The biggest thing here is to take your time and realize that they can be redone. Also getting the upholstery nice and warm in the sun will make your life much more easy! If you have any questions please feel free to reach out to our friendly techs at (203) 235-1200

